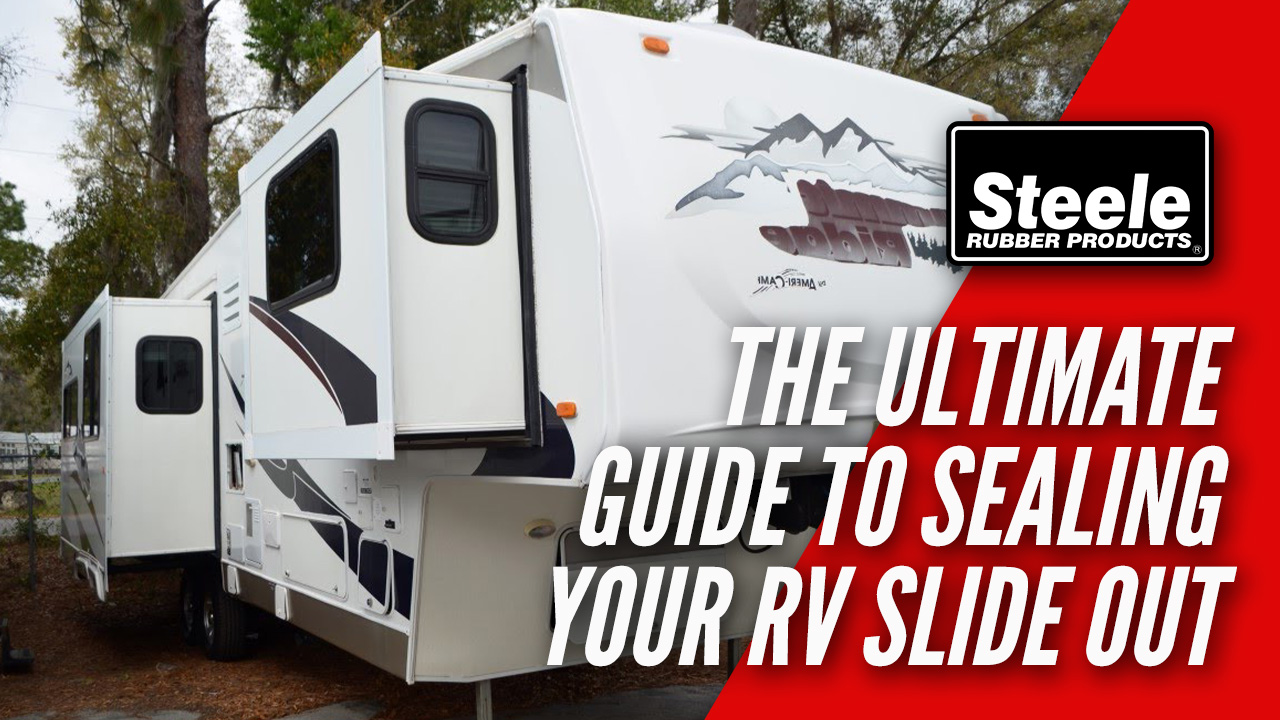
One walk through. That’s all it takes for you to fall in love with an RV with a slide room. Slide outs increase living space and make the RV more home like – removing all sense of being closed in a small space. Slide outs are great additions to any RV, but they do come with maintenance.
Did you know that slide outs are the leading source of RV water leaks? As the rubber seals around the perimeter age, things will twist, warp, and otherwise get out of shape, and they allow rainwater to seep in.

In our recent poll, we asked what kind of blog post you wanted to see from us next. There was an astounding response to write an article on slide out seals.
With the help of our in house expert, Danny Agosta and our new RV Tech friend, Mike, we put this post together as a comprehensive guide for RV slide out seal replacement.
This post is going to be lengthy, but we hope that it gives you all the resources you need to replace or repair your RV slide out seals. In this blog article, we are going to cover the most common types of RV slide out seals, how to replace them, and what to do to keep them in good condition for many years to come.

If you already have our RV catalog – great! You can refer to pages 8 and 9 for the slide out seals. If you don’t have a catalog – don’t worry! You can snag a FREE digital download Catalog or have one mailed to you here. We’ll also include links to our website throughout this post for quick reference!
Types of Slide Out Seals
The type of seal used and how it’s installed is determined by the manufacturer when they are building the RV. These seals can be installed by glue on, push on or peel-n-stick. The most common combination of seals are a wiper and bulb type seal. Wiper seals flex in or out, depending on how the slide is moving, to prevent water from getting into the slide room. Bulb seals compress against the slide when it’s closed.


Sealing an RV slide out has taken on many forms throughout the decades. When an RV is manufactured, and before the slide out is installed, the first seals are installed on the body of the RV – vertically and horizontally around where the slide out will sit. Sealing the slide out began with a simple “P” profile seal that glued on. Manufacturers gradually moved to push on style seals, and then finally an “H” style seal which Mike describes below.


Mike says, “you might find is that these seals are larger 3 sided channels that are made of a hard rubber compound and are attached by glue or fastened to the body of the RV with metal screws”.

The “H” seals provided manufacturers the opportunity to seal RV slide rooms faster. Instead having to install wiper seals on the inside and outside of the RV, this dual sided seal could be applied in minutes. Then, all the manufacturer would have to do is tack it in a few places and slide on the bulb. Job done!
“H” seals also give you a unique opportunity as an RV owner. Instead of having to replace the whole seal in the event of a crack or tear, “H” seals can be cut on the damaged side and replaced (illustrated below).

For example, if you have a tear on your exterior wiper seal, you can cut that part of the wiper off and replace it with part #70-3884-265 assuming the profiles of the seal, and their dimensions are the same. You can then use the original bulb seal, or you can replace it if it is damaged.

Common Slide Out Seal Problems
Slide out seal problems? You’re not alone.
When an RV has been in use for a year or two, rubber seals can start to dry out if not taken care of properly. If an RV is parked under trees, for example, leaves and twigs can collect on top of the slide out and get pulled in when you retract the slide damaging your seals. Some RVs have awnings, or slide toppers, to keep debris off the top of the RV slide out, but that’s not always the case.
Debris shouldn’t be underestimated. If you retract the slide with debris on top, you risk damaging the top of the slide or your RV interior, or completely ripping your secondary and sometimes primary seals off your RV.
If your RV is sitting in the hot sun, with no cover, the constant exposure to UV will cause the rubber compound to start to break down. This causes your seals to look dull grey, shrink and eventually crack and degrade.

As an RV tech, Mike has seen all of these issues including the seals peeling back from the body of the slide and RV especially if they’re glued on. The glue softens in the hot sun, the top of the slide out is dry and that causes the seal to peel away.
Mike’s biggest recommendation for your slide out seals?
“Owner preventative maintenance. Cleaning and lubricating can go a long way for your slide out seals”.
RV Slide Out Maintenance
I really wanted to title this section as The Great Silicone Spray Conspiracy Theory.
But don’t give me credit for that. I actually snagged that title from a forum discussing RV seal repair for a reason. Rubber manufacturers don’t recommend using anything on their products noting that it could compromise the integrity of the rubber. On the flip side, RV owners and RV Techs do recommend lubricating your seals.
Regular lubrication of your slide out seals and other seals around your RV can prevent a lot of problems. RV seal lubricants are available in many big box retailers and RV parts stores. These lubricants are clear silicone sprays with extra additives that help them last longer.

So, what gives? Is there a conspiracy?
After some investigating, I discovered some truth behind rubber manufacturer disapproval, and found some clever DIYs for keeping your seals clean and well taken care of.
It’s not the silicone it’s the additives. Kind of sounds like a bad break up doesn’t it? When it comes to silicone lubricants, it’s not the silicone that causes the rubber compound to eventually break down and crack. The culprits are the additives in the spray that cause degradation. The chemicals of the propellant attack the polymer links found in the rubber compound that leave you with a weakened seal. And a broken heart 💔
So, if you want to lubricate your seals what do you do?

A look into some RV forums reveals that RVers found success with pump products instead of spray. With pump products, you can gently wipe the silicone on the seal without compromising your seal quality and the environment.
What about keeping them clean?
Rubber manufacturers, like yours truly, recommend wiping your seals down with a little dish soap and water. This seemed to be an RVer favorite on forums as well.
After you’ve washed your RV, or it’s rained, another trick we recommend is taking a sock full of baby powder and patting your seals dry. This keeps excess moisture off the seal and ensures they stay in tip top shape! Having seals lubricated is important, but no one has time for slimy or gritty seals – yuck!
As an RV owner, you’re probably very proactive when it comes to the regular maintenance of your RV, but a little cleaning and lubricating of your seals is a great thing to add to your checklist to prevent future headaches.
How to Replace Your RV Slide Out Seals
While RV seals vary, the process of replacing them stays close to the same. To replace your RV slide out seals you’re going to need to know a few things. To see this process in action, we went into detail on a recent installation below:
- What type of seal you have (we usually refer to this as the profile or cross section)
- What the dimensions of your seal are
- How many feet you need to replace
- How the seal is attached
You will also need a few tools. Common tools used are:
- Adhesive remover & shop rags
- New adhesive (if the seal is not peel-n-stick)
- Eye & hand protection
- Tuck/Scraper tool
What type of seal do you have?
The first step is to identify the type of seals that are currently on the RV and decide what you want to use to replace them. You can do this by getting down underneath the slide and looking up to see the profile of the seal. This is also called a cross section. Your seal profile will give you a “picture” that you can match to our RV Catalog. Check out an example of this below:

The wiper seal on our project RV was a push-on wiper only, and the bulb seal attached to the slide box was a two-toned bulb that had a pedestal section and slid into a track.


Next, consult the slide-out section in the RV catalog and find the parts that you need. For our project RV, those parts were #70-3710-265 and #70-3831-265. For this project, it worked out that the seals we have were exact matches, but remember that isn’t always the case. It is also worth noting that at this point we could have used a few different seals but since the slide was only leaking because of a tear, and not a design fault, we chose to do it this way for an exact replacement.
If you’re uncertain about the replacement seal, we offer free samples to try. Call one of our expert staff if you have any questions!
What are the dimensions of your slide out seal?
The next thing to do is to get a measurement of how much footage we needed. This was simple enough with a tape measure. You will need to measure the height and width of your seal to compare to the dimension listed in our RV Catalog.
How many feet are you replacing?
Measure the diameter of your slide out to get approximate footage you will need to replace. Only worry about measuring what you’re going to replace. No need to measure the whole slide out if you’re only replacing one 10 foot section (for example).
How is your seal attached?
Seals come in push on, glue on and adhesive backed varieties. Most of the time when you replace your seals, the replacement will be attached the same way as the original. We have seen a few cases where the original seal could be replaced with a different attachment method. That’s typically not the case however, and if you find a couple of seals that could match your profile, we recommend using your best judgement to pick the best replacement seal for your project.
Now to replace your seals
To remove the wiper seal:
Using a screwdriver we removed the screws at the bottom and the top of the seal and then pulled it off. It was just being held on with the tension of the push-on seal.

To remove the bulb seal:
We found that the only thing holding the bulb seal on was a screw at the top corner of the slide-out box that came in from the outside trim and pierced the seal. Once we removed that screw the seal fell down the track. It’s within reason to think that this method of attaching the seal could easily fail at any time.
This process was repeated for the top and the other side of the slide-out. We did not replace the bottom since it was in good shape.
Before installation we made sure everything was clean on the surface where we were applying the rubber. There can be a lot of dirt, debris, and usually dead bugs back there. This is where your shop rag (or a stiff brush) comes in handy to dust all of that off.
Next, we installed the pieces the way they came off. The new wiper seal was pushed on and we replaced the screws in the original locations. Instantly, we could tell a difference in the tightness of the seal!

When you are installing the wiper seal, make sure that it is fully in place. The wiper for our project RV was pushed onto the edge and ran up a good 1-2 inches behind the top wiper seal. We checked to make sure that it was firmly seated all along the edge, and then glued the top seal over the bottom seal where they overlap. This is important because you want these to flex as one unit.

Once you have the wiper seal in place, you can trim the excess at the bottom to match the end point of the original seal.
Moving on to the bulb seal – the seal slid into the track from the bottom and was guided to the top. We chose to put the screw back into its original location.
These steps are then repeated for the top and other side of the slide out.
Congrats! You have successfully installed your slide out seal! 🎉
If you want to take extra precautions to make sure your seals stay in place, check out Danny Agosta’s tips below:
Using 495 Loctite (part #96-0495-296), we tacked down a few places where the wiper seal was pushed on, and a few places around the track with the bulb seal. We did this to make sure everything stays in place even if the screws find a way out.
We also glued the top seal where it overlapped the side wiper seal – creating a tight wrap around the corner. We have found this is the best way to seal that top corner!
Final Thoughts
Replacing the slide out seals on your RV can be intimidating, but we hope this article equips you with the tips you need to get the job done right. And if you’re ever concerned about replacing the slide seals yourself you can always call an RV Tech – like our friend Mike – for assistance.
At Steele, we’re more than just high-quality products, we’re your trusted resource for completing your weatherstripping projects with confidence.
Whether you’re working on a classic car or truck, street rod, RV, or boat, our expert team is here to help. If you have questions about weatherstripping or need product guidance, we’re just a call or click away.
📞 Call us at 800-650-4482
📧 Send us an email
💬 Chat with us live on our website
Need installation help?
Check out our How-To video series on YouTube for step-by-step guidance and tips.
Stay connected!
Follow us on Facebook and Instagram for updates, inspiration, and more.
Leave a Reply