While your normal RV weatherstripping (i.e. slide out seals, window edging, compartment and access door seals) do their best at keeping water out, there is another step you can take to prevent water intrusion. A drip rail is an easy addition to direct water away from sensitive areas on your RV or camper and it’s simple to install.
In this short how-to, we’ll show you the quick and easy process of applying our Drip Rail with Peel-N-Stick. This process can be repeated and duplicated over slide outs, windows, compartment doors and more! We’ll also share a few tips along the way to ensure the install looks good and you’re maximizing your protection!
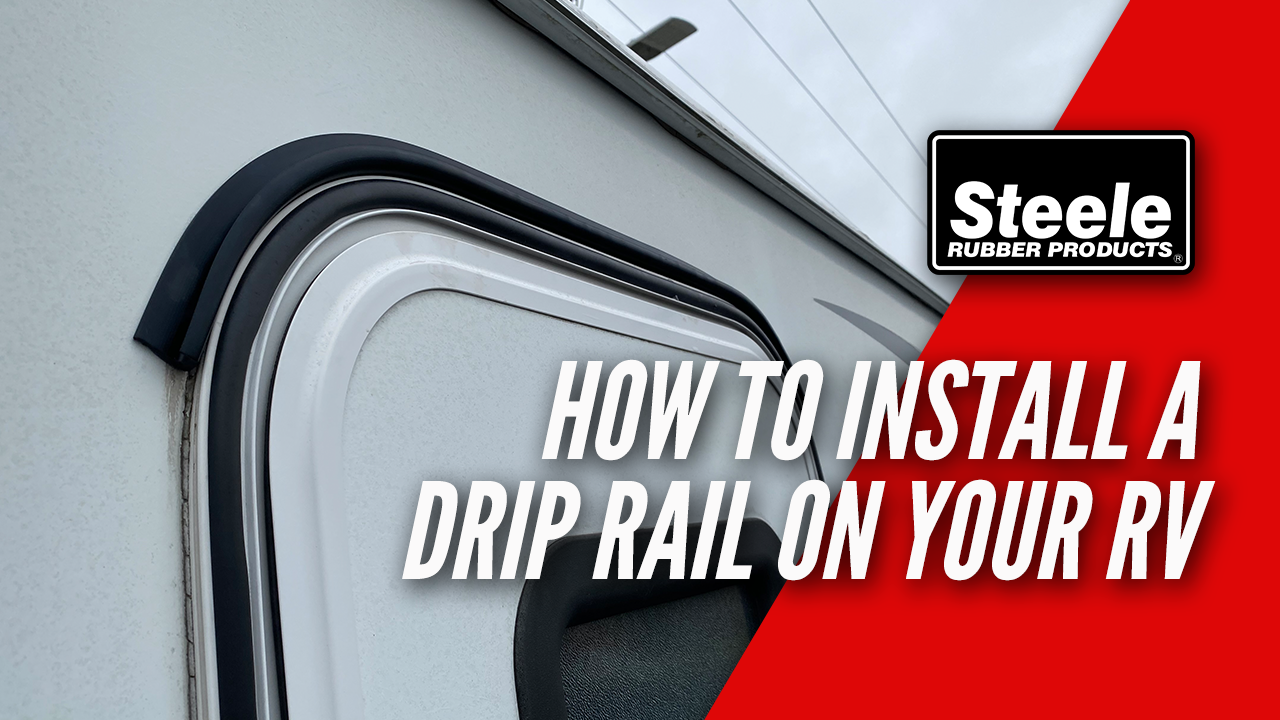
For this install, we applied our black drip rail (also available in white) above an access door. This is to direct water away from the door, to minimize the amount of water the door seal has to contend with.
Step 1

First things first, identify the area or areas a drip rail is needed. Consider the downward flow of water when finding the right placement. Once that is done, mark your start and finish points and then determine the appropriate length you need. (This also makes sure your seal sits symmetrically over the door, slide out, etc., so it looks like a factory part) The placement should allow water to run off and away from the area. We chose to have the drip rail fit flush against the existing trim of the door. We added enough length to follow the curve so the water falls down and is directed away.
Step 2

Next, is arguably one of the most important steps when installing weatherstripping, surface prep! Thoroughly clean the site you will be applying your seal, we used soap and water as this surface was not very dirty. However, if your surface has a heavy build up of dirt, grime, greasy or sticky residues, or if the site doesn’t feel clean enough after soap and water, we recommend using a heavy-duty cleaner.
Step 3

Now we’ll start the application process. Our drip rail features the 3M Peel-N-Stick backing, making the install quick and easy. To start, peel back only a few inches of the protective plastic, line it up with the starting mark, and press firmly into place. Work a few inches at a time while continuing to pull back the plastic backing.
Tips:
- When applicable, apply the part directly against the door or window frame, following the natural lines of the door or window, to get a flush look.
- Try not to stick the part and peel it back up several times. Each time will pick up some dirt/debris which can compromise the adhesive.
- The adhesive backing will stick instantly and continues to fully cure over 72 hours.
Step 4

Lastly, you will find your end mark and cut the excess rubber. Remember, the important thing is to have a downward flow so the water can run off and away from the area. And just like that, you’re done!
Of course you will want to make sure all of your seals are in good shape, but drip rails make for an easy and quick solution to a lot of water issues. With this information, you can now look to address any problem areas your RV may have.
Not sure if our Peel-N-Stick Drip Rail is the right choice for your RV? Order a free sample! Give us a call or email us to order your free sample pack of our black and white drip rail today!
At Steele, we’re more than just high-quality products, we’re your trusted resource for completing your weatherstripping projects with confidence.
Whether you’re working on a classic car or truck, street rod, RV, or boat, our expert team is here to help. If you have questions about weatherstripping or need product guidance, we’re just a call or click away.
📞 Call us at 800-650-4482
📧 Send us an email
💬 Chat with us live on our website
Need installation help?
Check out our How-To video series on YouTube for step-by-step guidance and tips.
Stay connected!
Follow us on Facebook and Instagram for updates, inspiration, and more.
Leave a Reply