
With outdoor elements like rain, debris, and pests, the gasket underneath your RV’s A/C unit is constantly exposed to a wide range of challenges. That’s why investing in a high-quality gasket is crucial for your RV.

In this comprehensive guide, we will walk you through the essential steps to replace the gasket on your RV’s rooftop A/C unit. However, it’s very important to understand the significance of this gasket, what to consider when choosing a replacement, and how to identify signs of a faulty seal.
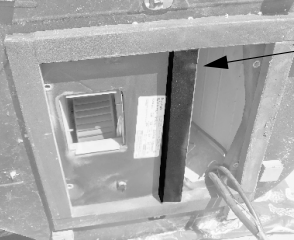
About the A/C Gasket
The A/C gasket is an essential component for protecting and preserving your RV. Positioned on top of a substantial opening in the RV’s roof, the gasket is a protective barrier that prevents external elements from infiltrating beneath the air conditioning unit. Without a properly functioning gasket, your RV’s interior becomes vulnerable to things like debris, pests, and water. Aside from rain, your RV’s roof is also exposed to other sources of water, thanks to the natural condensation produced by A/C units.

Not only does it keep external elements out, but it also ensures an airtight seal to regulate the cabin temperature. By preventing air leaks, your A/C unit won’t have to work overtime, resulting in excessive condensation.
When to Replace Your Gasket
We recommend performing a thorough inspection of your RV’s weatherstripping at least every 6 months. This gives you the best chance of catching a problem early and preventing costly damage. So, when you’re checking your A/C gasket, what are you looking for? Obvious signs of a faulty seal like water leaks, loss of shape, or deterioration will be the easiest to identify. However, other problems may not be so easy to spot.

With an A/C unit, it’s essential for everything to be aligned properly. Unfortunately, many owners have experienced roof leaks from the A/C unit on brand new RVs. This is due to the gasket and/or unit not being aligned properly when first installing it. So, even if your rig is brand new, it will only be beneficial to do a thorough check of your gasket. NOTE: Gaskets should always be replaced if the A/C unit is removed.
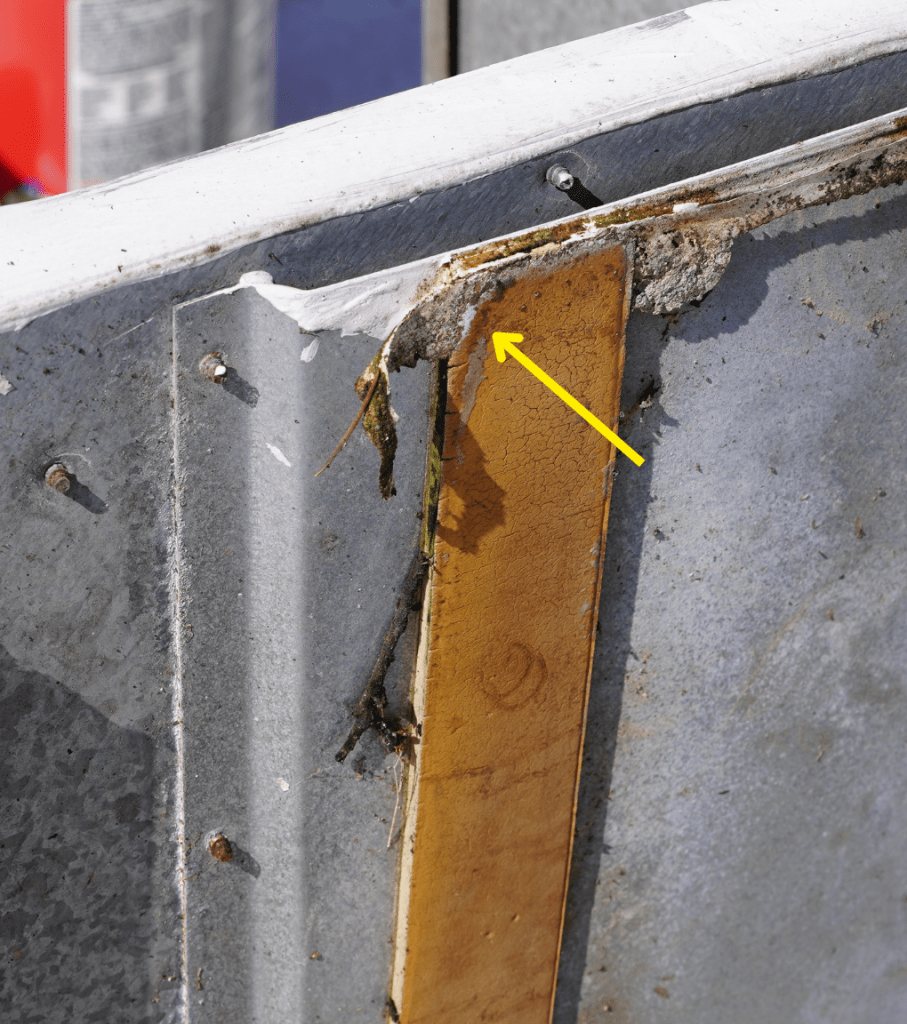
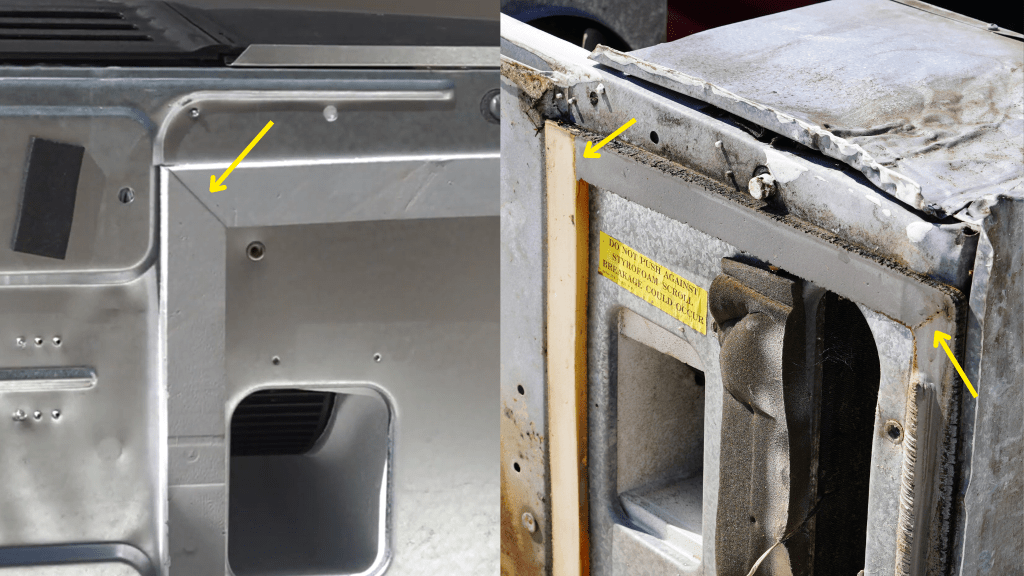
One of the main reasons A/C gaskets often fail is because of subpar manufacturing. These inferior products, made from cheap materials that cannot withstand prolonged sun exposure, have a fundamental flaw – their corners. When an A/C gasket is pieced together, the corners become vulnerable areas where water can seep through the cracks. And when you have an RV, a water leak of any type can wreak havoc and lead to costly repairs.
Choosing a Quality Replacement
When it’s time to replace your A/C gasket, take that opportunity to invest in a durable, high-quality gasket. Steele’s one-piece A/C Gasket is the perfect solution for your RV! This custom design is a Steele Exclusive, so you won’t find it anywhere else!
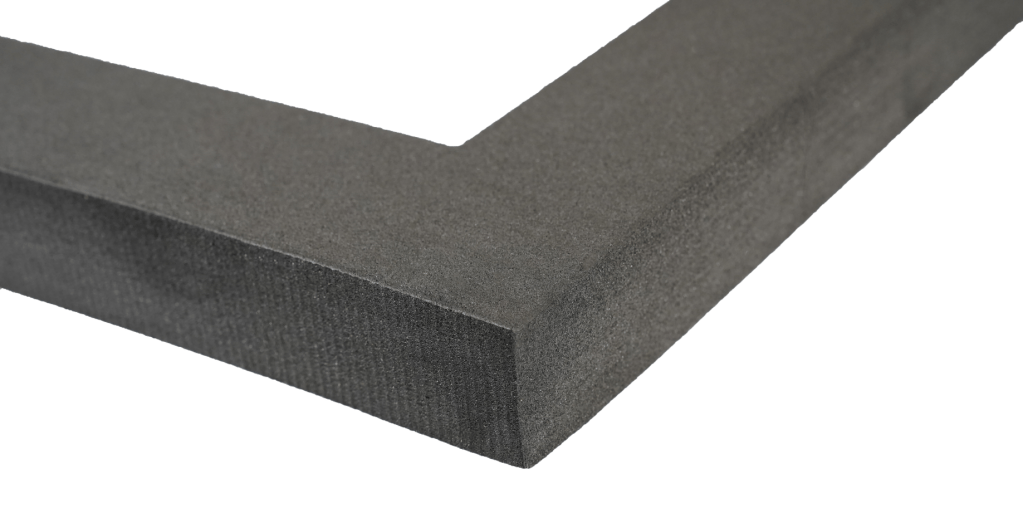
This gasket is 100% EPDM rubber which provides exceptional UV and weather resistance. The one-piece design eliminates the common failure point of other gaskets with seamless, leak-proof corners. It fits most RV roof-mounted A/C & Heat Pump units including those made by Dometic, Airxcel, Advent, Atwood and Coleman.
Included in our A/C Gasket Kit are 2 leveling blocks, 1 divider specifically designed for split intake/return layouts, a detailed instruction sheet, and the gasket itself, which boasts a pressure-sensitive adhesive backing to securely hold it in place during installation.
How to Replace the A/C Gasket
Items needed:
- New a/c gasket
- Screwdriver
- Adhesive remover/cleaner
- Marker
Before you begin, please ensure that power is disconnected from the A/C unit! We also recommend having an additional person for this project. 2 or more people for this installation will make for a more efficient and safer process.
Step 1: Refer to the RV and A/C manual for assembly and disassembly instructions and begin removing the unit. Once you have removed all the mounting hardware, carefully tilt the A/C unit on it’s side to access the gasket.
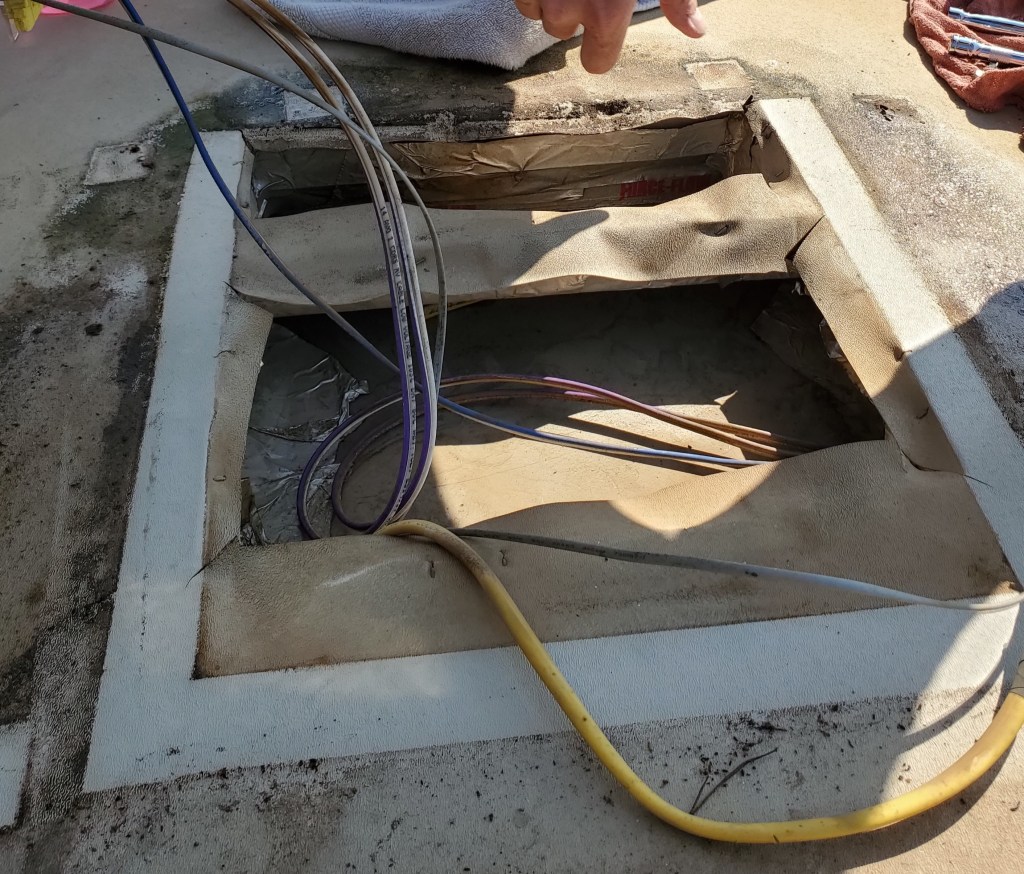
Step 2: Label and disconnect any where going to the unit so you’ll know how to properly reconnect them later. If your A/C unit does not have a channel where the gasket sits, marking an outline of the the existing gasket will help guide the placement of the new gasket. Completely remove the old gasket.
Step 3: Perform a thorough cleaning of the surface on which the new gasket will be installed. Use adhesive remover to dissolve any leftover grime or adhesive from the old gasket and ensure the surface is free of any sharp edges or burrs.
Step 4: Once the surface has been prepped and is completely dry, begin carefully removing the adhesive backing on your new Steele Rubber Products gasket and press into place. If the unit does not have a channel, use the marked outline you made in step 2 as a guide for the new gasket. Steele’s A/C gasket features a pressure-sensitive adhesive designed to hold in place during the install. It does not need to fully cure before reinstalling the unit.
Step 5: Reconnect all of the necessary wires back into the unit once the gasket is applied. Use the leveling pads provided to support the section of the A/C unit that does not sit over the new gasket. Refer to your manual for precise placements of the pads.
Step 6: When re-assembling the A/C unit, do NOT over-tighten the screws/bolts. Carefully tilt the unit back into place and ensure the gasket is properly covering all sides of the opening. Refer to the RV and A/C unit manual for proper re-assembling instructions.
After the first week of use, check the A/C unit bolts and tighten if necessary.
Steele not only offers high-quality products, but also the knowledge to help you complete your projects. If you have questions regarding weatherstripping for your classic vehicle, street rod, RV, or boat, don’t hesitate to contact us! Call us at 800-447-0849, send us an email, or chat with us on our website.
For more help check out our How To series on YouTube!
Look for us on all your favorite social media platforms:

Did you find this article helpful? Tell us why!