When it comes to installing weatherstripping, many people opt for a quick and easy method. They lay a thick bead of adhesive on the metal and then press the weatherstrip on top of it. However, this approach often leads to glue oozing out the sides and the weatherstrip slipping out of place, not to mention the long drying time. While this may seem like a simple technique, it is not the most effective one. At Steele, we take pride in doing the job right the first time. Allow us to show you a better technique!
What You’ll Need
Before we show you the best technique for gluing, it’s important to have the right adhesive for the job.

3M Super Weatherstrip Adhesive is the perfect choice! This product was designed specifically to bond weatherstripping to metal, creating a waterproof and airtight seal. It is ideal for gluing rubber seals and gaskets onto the vehicle body around doors, trunks, T-tops, and windows.
Other supplies to make the job easier:
- Popsicle stick
- New weatherstripping
- Gloves
It is extremely important that you prep the surface before gluing!
This means removing all of the old weatherstripping, leftover adhesive residue, and any dirt or debris. This step cannot be skipped! The adhesive bond will be compromised if applied to a dirty surface.
Proper Gluing Technique
Start by applying a very thin bead of adhesive directly to the metal, trust us when we say less is more! Spread it out with a popsicle stick to make it into a thin film and let it sit a few minutes until it’s tacky.

Next, put a thin bead of the adhesive onto the weatherstrip itself and spread it into a thin film just as you did on the surface. Let it sit a few minutes to get tacky, as well (should only take a minute or 2).

Once both sides are tacky, put one last thin bead of adhesive on one of the surfaces and press the weatherstrip into place. Press firmly all over the weatherstrip to make sure it has made full contact with the metal. This method will not cause the adhesive to gush out of the sides and dries much faster. In fact, the bond will most likely be instantaneous!
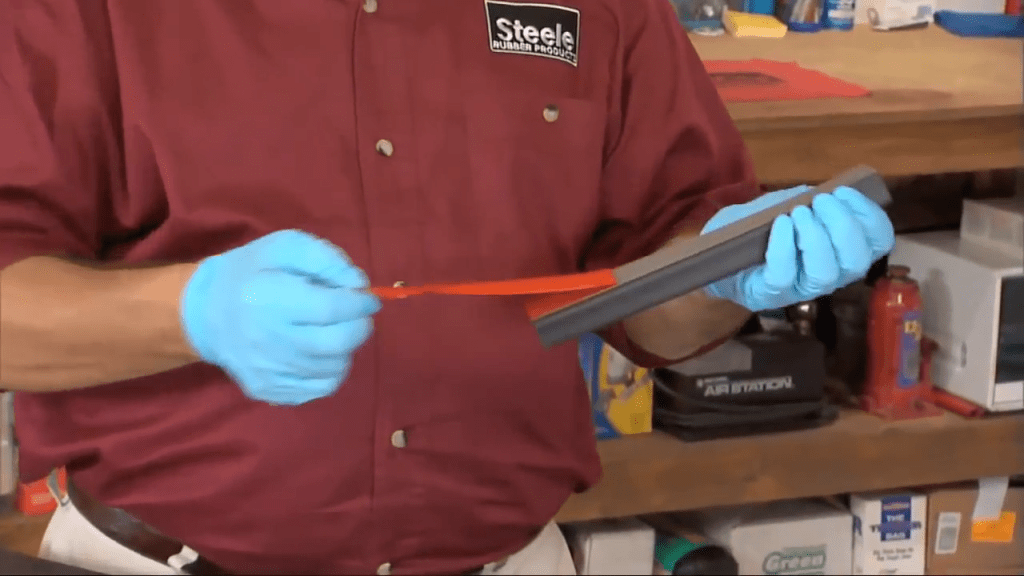
(Photo below is seconds after gluing a new piece of weatherstripping using this technique onto a 3lb block of aluminum.)

Allow the adhesive to cure for a full 24 hours and the job is done!
Peel-N-Stick
For our Peel-N-Stick products, installation is incredibly easy! Simply peel off the backing and press into place. However, it’s important to remember that just like when using adhesive, preparing the metal gluing surface is crucial, so don’t skip that step! Additionally, keep in mind that this product is extremely sticky and it can be very difficult to remove the seal once you stick it in place. To avoid this, do a test fit with your weatherstripping before removing the adhesive backing to ensure it’s exactly where you want it.

Installation Tips
Tip #1: To control the application, put small amounts of the adhesive on a piece of cardboard and use the popsicle stick to spread it on. This will ensure you the adhesive is only applied where you want it.

Tip #2: For projects with a large surface area like a trunk, using this method, only install 2-3 feet at a time. This prevents the adhesive from drying too quickly and allows you to take your time installing the part.

Steele not only offers high-quality products, but also the knowledge to help you complete your projects. If you have questions regarding weatherstripping for your classic vehicle, street rod, RV, or boat, don’t hesitate to contact us! Call us at 800-447-0849, send us an email, or chat with us on our website.
*For more help check out our How To series on YouTube!
Don’t forget to follow us on social media!
Facebook, Instagram and Pinterest

