
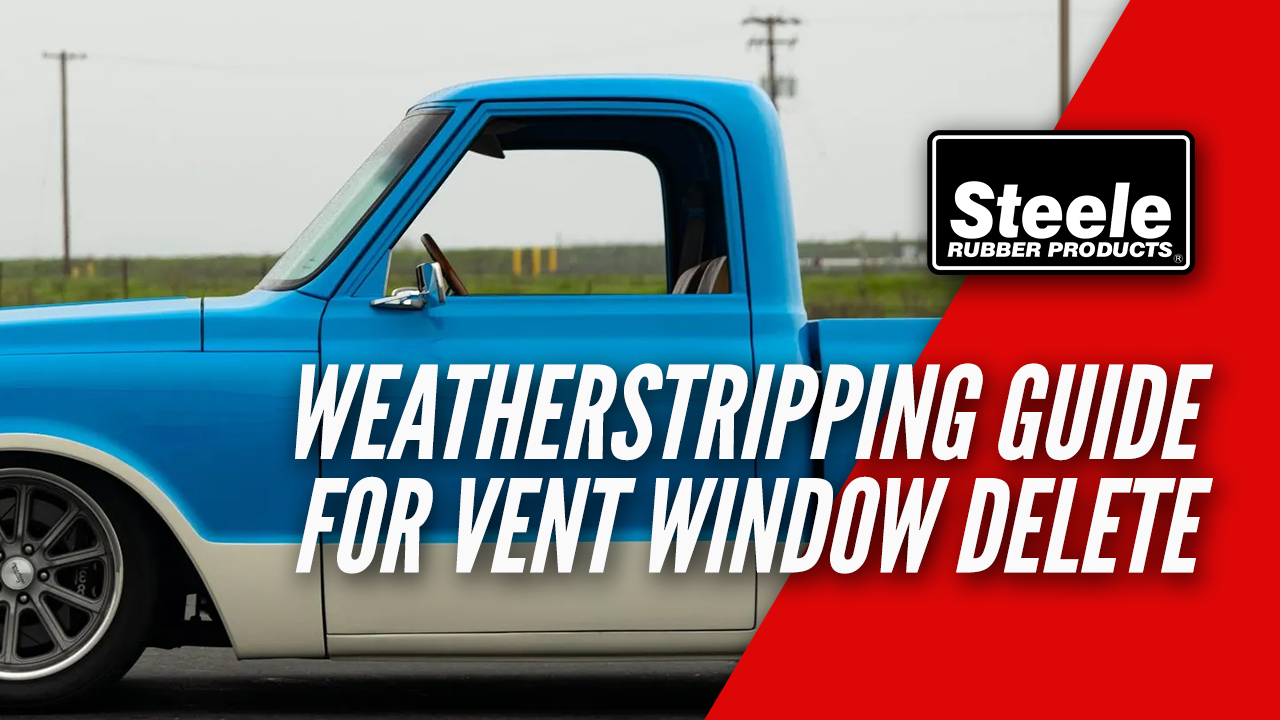
Eliminating a vent window is a popular modification for street rods, restomods, and custom builds. It creates a cleaner, uninterrupted one-piece side glass design that complements a more modern look. But once the vent window frame is removed, finding new weatherstripping presents a unique challenge.


In this comprehensive guide, we’ll cover:
Why OEM Replacement Parts Won’t Work
OEM-style run channel and beltline weatherstrips are designed specifically for vehicles with the original vent window assembly installed. Once the vent window frame is removed, the factory-length beltline and run channel are no longer long enough to support the new one-piece window glass.
This is where universal weatherstripping becomes the ideal solution.
Steele Rubber Products’ universal beltline weatherstrips and run channel offer the same quality materials found in our vehicle-specific products while providing the flexibility needed for custom applications. Because they can be cut to the required length, they’re well suited for vent window delete conversions and other custom window modifications.
Choosing Replacement Weatherstripping
Beltline Weatherstrips
Often referred to as window felts, window fuzzies, cat whiskers, or window scrapers, beltline weatherstripping seals the gap between the door and the side glass on both the inside and the outside of the vehicle. They ‘sweep’ the window as it rolls up and down, preventing rainwater, dust, and debris from getting inside the door while also preventing window rattles.
Selecting the correct beltline begins by identifying the style that best matches your application. Inspect your original and note the profile shape, what material it is (fuzzy lined or rubber strip), if it’s beaded or unbeaded, then compare with our universal beltline options online.

Consider ordering our beltline sample pack so you can compare and test fit several profiles before buying.
Once you’ve found a match for a replacement, determine the total length required by measuring the entire opening along the top of the door. Keep in mind you will need two beltline strips per door, the inner and the outer.
Universal beltline weatherstripping is supplied in longer lengths so it can be customized to your application. During installation, you’ll trim the material to length. You can install the beltline with staples, screws, rivets, or adhesive. If you choose to glue, we recommend using 3M Urethane Adhesive (see how to video for this method at the end of the article).
Browse all our universal beltline weatherstrips here to find the right replacement for your project.
Glass Run Channel
Glass run channel is the U-shaped weatherstrip that guides the door glass as it moves up and down. Without proper run channel, the glass can rattle, lean forward or backward, bind during operation, or place excessive stress on the window regulator.
The most common types of run channel:
- Flexible: some are made of a flexible metal that is covered in cloth and fabric-lined, while some are made of an electrostatic flocked rubber. Commonly used along the top and down the back side of the door glass.
- Rigid: a solid, formed metal channel with fabric lining. Used for straight, vertical runs like the front and rear door division posts.


With framed door glass, it runs along the top and down the front and back sides of the glass. With door glass that isn’t framed, like on a hardtop, coupe, or convertible, it’s hidden down in the door panel to guide the glass when the window is lowered, and if a vent window is present, it runs down the division post.


The vent window frame serves as part of the guide system for the front of the door glass. When that frame is removed, so is a significant portion of the original run channel path. Since the new one-piece glass will require a guide for the front side of the glass, you’ll need to create a new structure to support the run channel weatherstrip down inside of the door panel.
Fabricating the new front channel guide is a project of its own and varies greatly between vehicles. Rather than providing generic fabrication instructions that may not apply to every build, we’ve included some excellent how to videos showing different approaches to eliminating the vent window:
Choosing the replacement run channel weatherstrip starts by identifying the best shape and profile for your door. Look to your original flexible run channel for a starting point, noting the material (is it a flexible metal covered in cloth or rubber), and most importantly the dimensions. Try to find a replacement seal that is as close to the exact measurements of your original since you know that fits in the door channel.
Consider ordering one of our flexible glass run channel sample packs so you can compare and test fit several profiles before buying.


Once you’ve identified the correct profile, determine the total length required. Because there are different types of vehicles, as well as many different body styles that feature vent windows, the area to measure for new run channel will depend on your vehicle and body style.

For a vehicle with framed door glass, you’ll need to measure the entire length of metal channel within the door frame. Using a flexible measuring tape, start from the bottom of the new metal channel inside the door and follow the exact path the weatherstrip will take, going up and across the roofline, then down the rear side of the door all the way to the bottom of the channel inside the door.

For vehicles with frameless door glass, often the A-pillar post will meet up against your glass. If the existing roof rail or A-pillar weatherstrip is not meeting up with the glass, some owners opt to keep a vertical channel at the front of the door after the vent window is removed. Regardless, you’ll need to measure whatever length of metal channel will be at the front of your door glass.

Universal glass run channel is offered in various long lengths so it can be customized to your application. During installation you’ll trim the material to length, ensuring there is enough to fully support the window through its entire range of motion. Most run channel weatherstrips are pressure fit, so no adhesive is required.
Although eliminating a vent window requires more planning than a standard weatherstrip replacement, choosing the correct universal beltline and run channel makes it possible to create a factory-quality window system for your custom build. By carefully matching the original weatherstrip profile, fabricating a proper front guide channel, and measuring accurately, you’ll end up with smooth window operation and a clean one-piece glass appearance.
Installation Tips
For step-by-step installation demonstrations, check out the videos below or visit our YouTube Channel. If you need any help or have questions during installation, please give us a call at 800-650-4482!
At Steele, we’re more than just high-quality products, we’re your trusted resource for completing your weatherstripping projects with confidence.
Whether you’re working on a classic car or truck, street rod, RV, or boat, our expert team is here to help. If you have questions about weatherstripping or need product guidance, we’re just a call or click away.
📞 Call us at 800-650-4482
📧 Send us an email
💬 Chat with us live on our website
Need installation help?
Check out our How-To video series on YouTube for step-by-step guidance and tips.
Stay connected!
Follow us on Facebook and Instagram for updates, inspiration, and more.
Leave a Reply