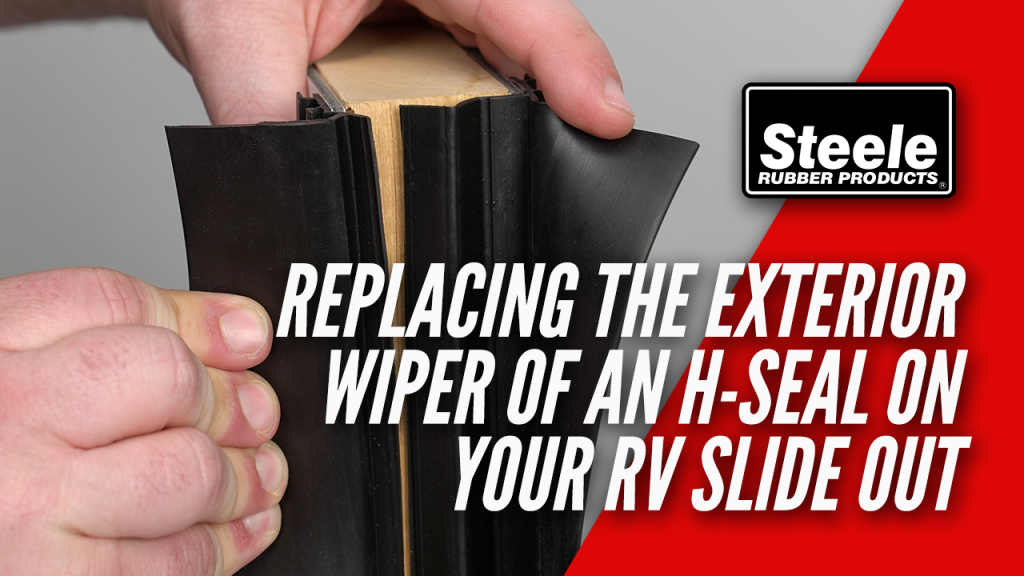
Over time, the exterior portion of an H-seal on an RV slide-out can wear out due to weather, sun exposure, and regular use. Replacing the entire H-seal requires removing or adjusting the slide-out box, which can be a complex and costly process. However, in most cases, only the exterior portion of the H-seal is damaged, making a partial replacement a simple and effective solution. This guide will show you how to remove the damaged portion and replace it with a new seal without adjusting the slide-out box.
Understanding the H-Seal:
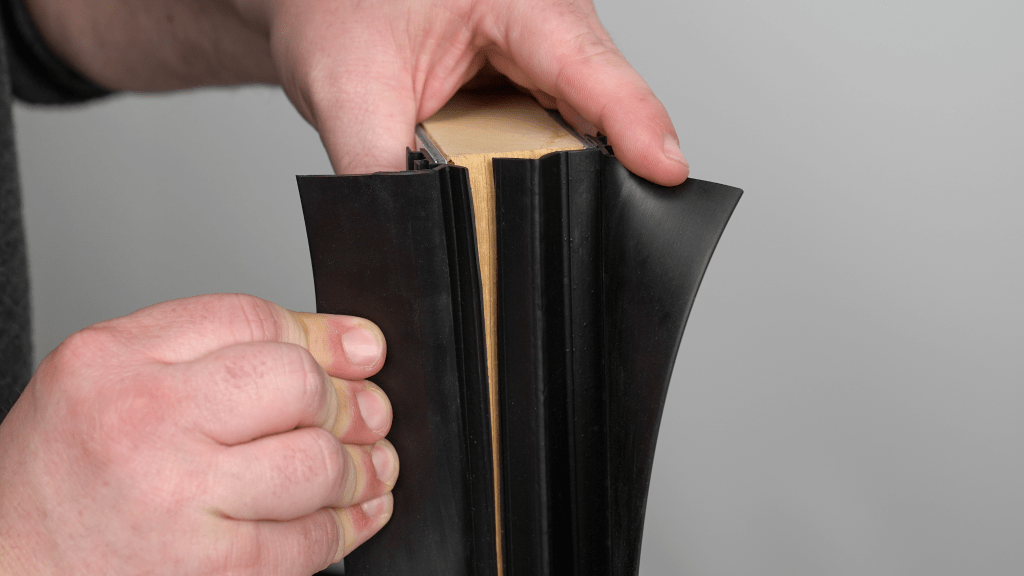
An H-seal has a shape resembling the letter “H”:
- One side of the “H” fits over the RV wall (covering the edge around the slide-out opening).
- The other side has two wiper seals:
- Interior Wiper: Seals the inside of the slide-out.
- Exterior Wiper: Seals the outside of the slide-out and acts as a weather barrier.

Typically, only the exterior wiper gets damaged. This method removes only the exterior portion and replaces it with our specialized replacement seal.
Tools & Materials Needed:
- Utility knife or heavy-duty shears
- Plastic scraper or trim removal tool
- Weatherproof tape (such as Tyvek, or similar UV and weather resistant tape)
- Cleaning cloth or rag
- Adhesive remover (optional for residue cleanup)
- Pliers (for removing staples or clips)
- Steele Rubber Products Replacement Seal
Step 1: Preparation
1. Extend the Slide-Out: Fully extend the slide-out to expose the exterior H-seal and wiper.
Step 2: Cutting and Removing the Damaged Portion
1. Identify the Cut Line: Locate the “-” section of the H-seal directly behind the exterior wiper (the thin center portion of the “H” shape).

2. Make the Cut: Using a utility knife or heavy-duty shears, carefully cut through the “-” section behind the exterior wiper. Be careful not to cut into the RV wall or interior portion of the seal.
3. Remove the Exterior Portion: Gently peel and pull away the cut portion of the H-seal, including the damaged exterior wiper.

4. Clean the Area Before Application: If staples or clips are securing the seal, remove them using pliers. Wipe down the area thoroughly with a cleaning cloth and adhesive remover to remove dirt, debris, and old sealant.

Allow the surface to dry completely before proceeding to the next step.
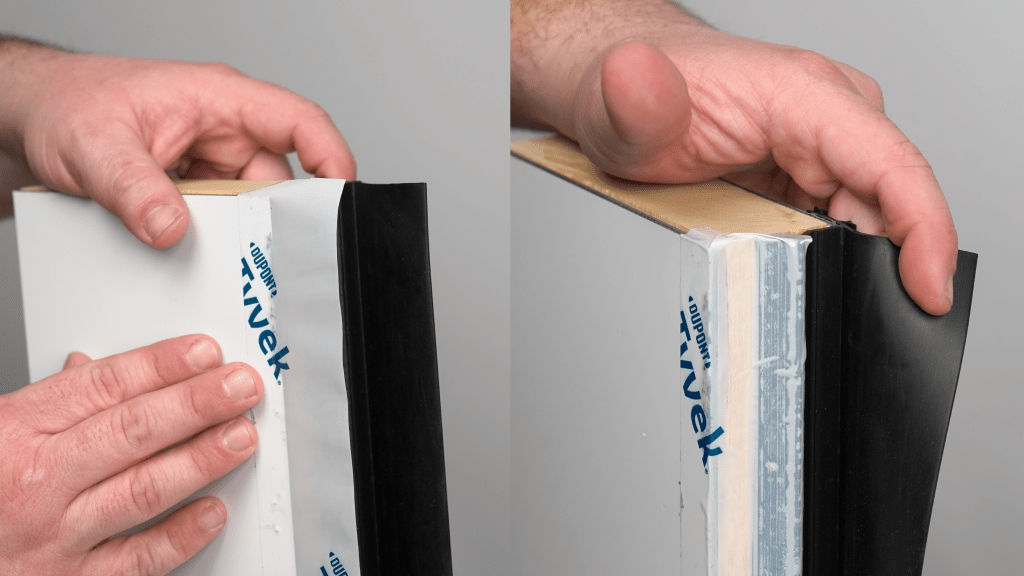
Step 3: Sealing the Edge with Weatherproof Tape
1. Inspect the Edge: Ensure the exposed edge is clean and free from old adhesive or debris.
2. Apply Weatherproof Tape: Cut a strip of weatherproof tape long enough to cover the exposed area. Press the tape firmly over the edge, ensuring complete coverage. Smooth out any air bubbles for a secure, waterproof seal.
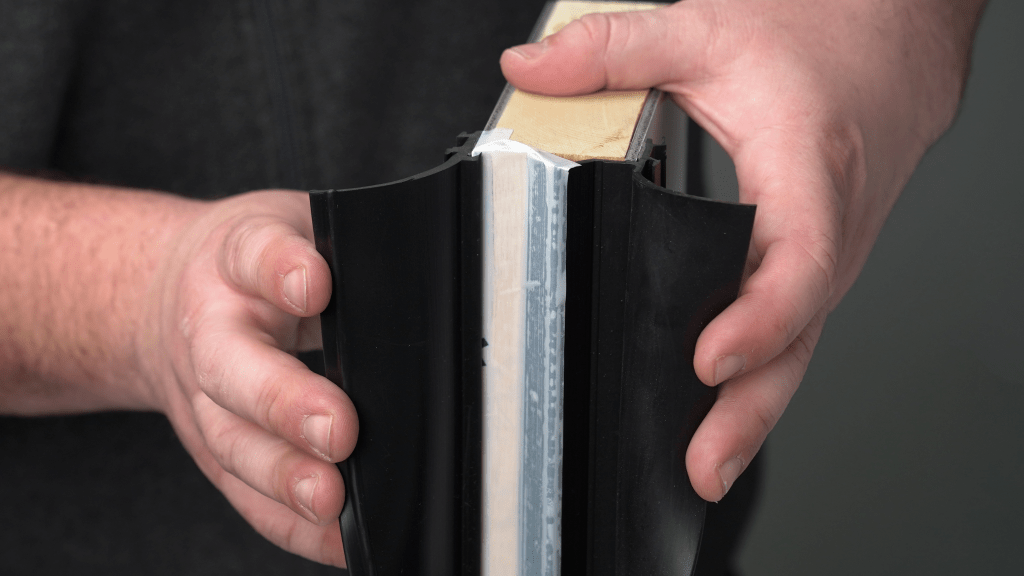
Step 4: Installing the Replacement Seal
1. Align the Replacement Seal: Position the new Steele Rubber Products seal over the taped edge, aligning it where the old exterior portion was removed.

2. Press and Secure: Press the seal firmly into place along the edge. Ensure it is secure and flush against the slide-out wall.

3. Check for Proper Fit: Slowly retract and extend the slide-out to ensure the new wiper seal functions properly.
Step 5: Final Inspection and Maintenance Tips
- Check the Seal: Inspect for any gaps, loose edges, or areas where water could penetrate.
- Test the Slide-Out: Extend and retract the slide-out a few times to ensure smooth operation.
- Regular Maintenance: Periodically clean and inspect the seal to extend its lifespan.
Replacing only the exterior portion of your RV’s H-seal is a practical solution that saves time and effort without compromising protection. With the high-quality replacement seal from Steele Rubber Products, your RV will be well-protected from water, wind, and debris
At Steele, we’re more than just high-quality products, we’re your trusted resource for completing your weatherstripping projects with confidence.
Whether you’re working on a classic car or truck, street rod, RV, or boat, our expert team is here to help. If you have questions about weatherstripping or need product guidance, we’re just a call or click away.
📞 Call us at 800-650-4482
📧 Send us an email
💬 Chat with us live on our website
Need installation help?
Check out our How-To video series on YouTube for step-by-step guidance and tips.
Stay connected!
Follow us on Facebook and Instagram for updates, inspiration, and more.

Did you find this article helpful? Tell us why!