At some point, every RV owner will encounter those drafts that seem to come out of no where. This annoying issue is almost always due to failing weatherstripping somewhere on your RV. The biggest culprit for air leaks in an RV is the windows!
When window seals begin to lose their shape, deteriorate, or start to come out of place, water can also make it’s way into your RV. That’s why replacing faulty window seals is vital to ensure a comfortable RVing experience.
So, when it comes time for new window seals, how do you know which replacement seal will work? That’s where we come in! Let’s walk through all the steps of identifying the problem, finding a replacement, and getting it installed.
3 Key Things to Consider
Exposure – What kind of environment will your RV be in? Annual beach trips with the family are always fun, but the salt in the air can be damaging. Salt is aggressive for the body of the RV as well as the weatherstripping. If you are RV camping at the beach, make sure to stop and wash everything well when you leave the coast. This will help slow down the effects of salt air damage.
Manufacturers mostly use cheaper materials when building the RV, like vinyl or thermoplastic, which do not have UV or weather resistant properties. If your RV is parked without shade or cover, the sun will take a serious toll on your seals!

Age – How old is your RV? If you bought the RV brand new, you may get a year or two in before you start seeing problems with your window seals. But, even if your vehicle is brand new, we still recommend checking the seals every 6 months!
If you bought the RV used, you won’t know the last time the seals were replaced, if ever. Check the weatherstripping for cracks, loss of shape, or shrinkage.
Quality – The quality of the weatherstripping makes all the difference! Going back to exposure for a moment, your RV spends considerable time outside in the elements. Sun exposure is the #1 thing that weakens and destroys poor quality seals. Your weatherstripping is the first defense against water and wind. Having a high-quality product that is made to withstand outdoor elements will prolong the life of your RV.

If you want to know how well your window weatherstripping is holding up – take a look. Do you see any dirt collecting? Where there is dirt, there is moisture! Moisture can lead to mold which can be dangerous to your RV as well as your health.
How to Find a Replacement
Now that you’ve determined it’s time to replace your window seals, where do you start? Window seals are an overlooked feature of window designs, but they are one of the most important. The first step to replacing the seals is finding out what type seal you need.
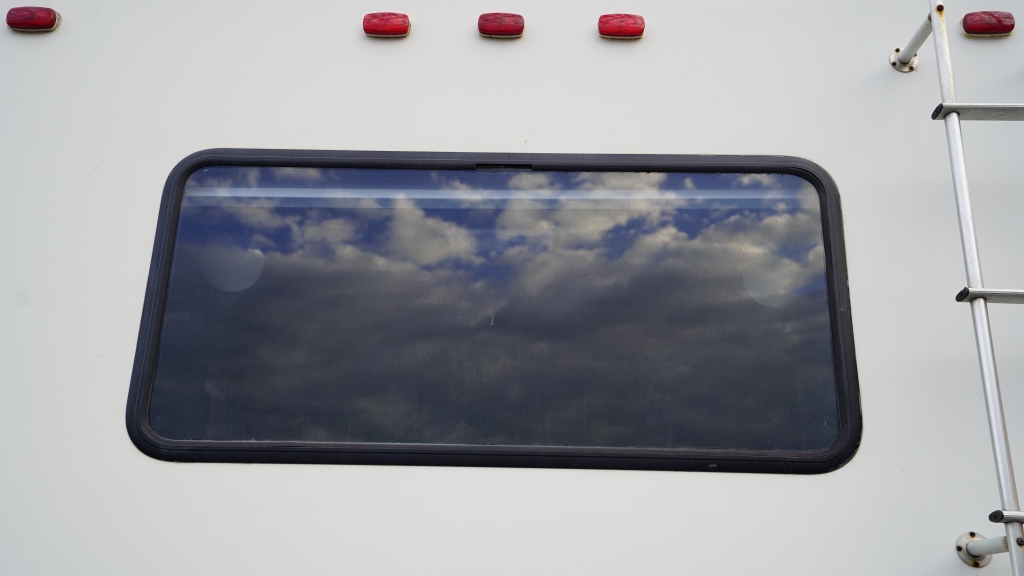
With so many different types of windows out there, it’s important to be certain which type you’re working with. The glass in a stationary window, also referred to as fixed window, does not move or open. This makes a difference because stationary window seals sit between the glass and the metal frame. Other terms for this type of window seal can be glazing or window trim.
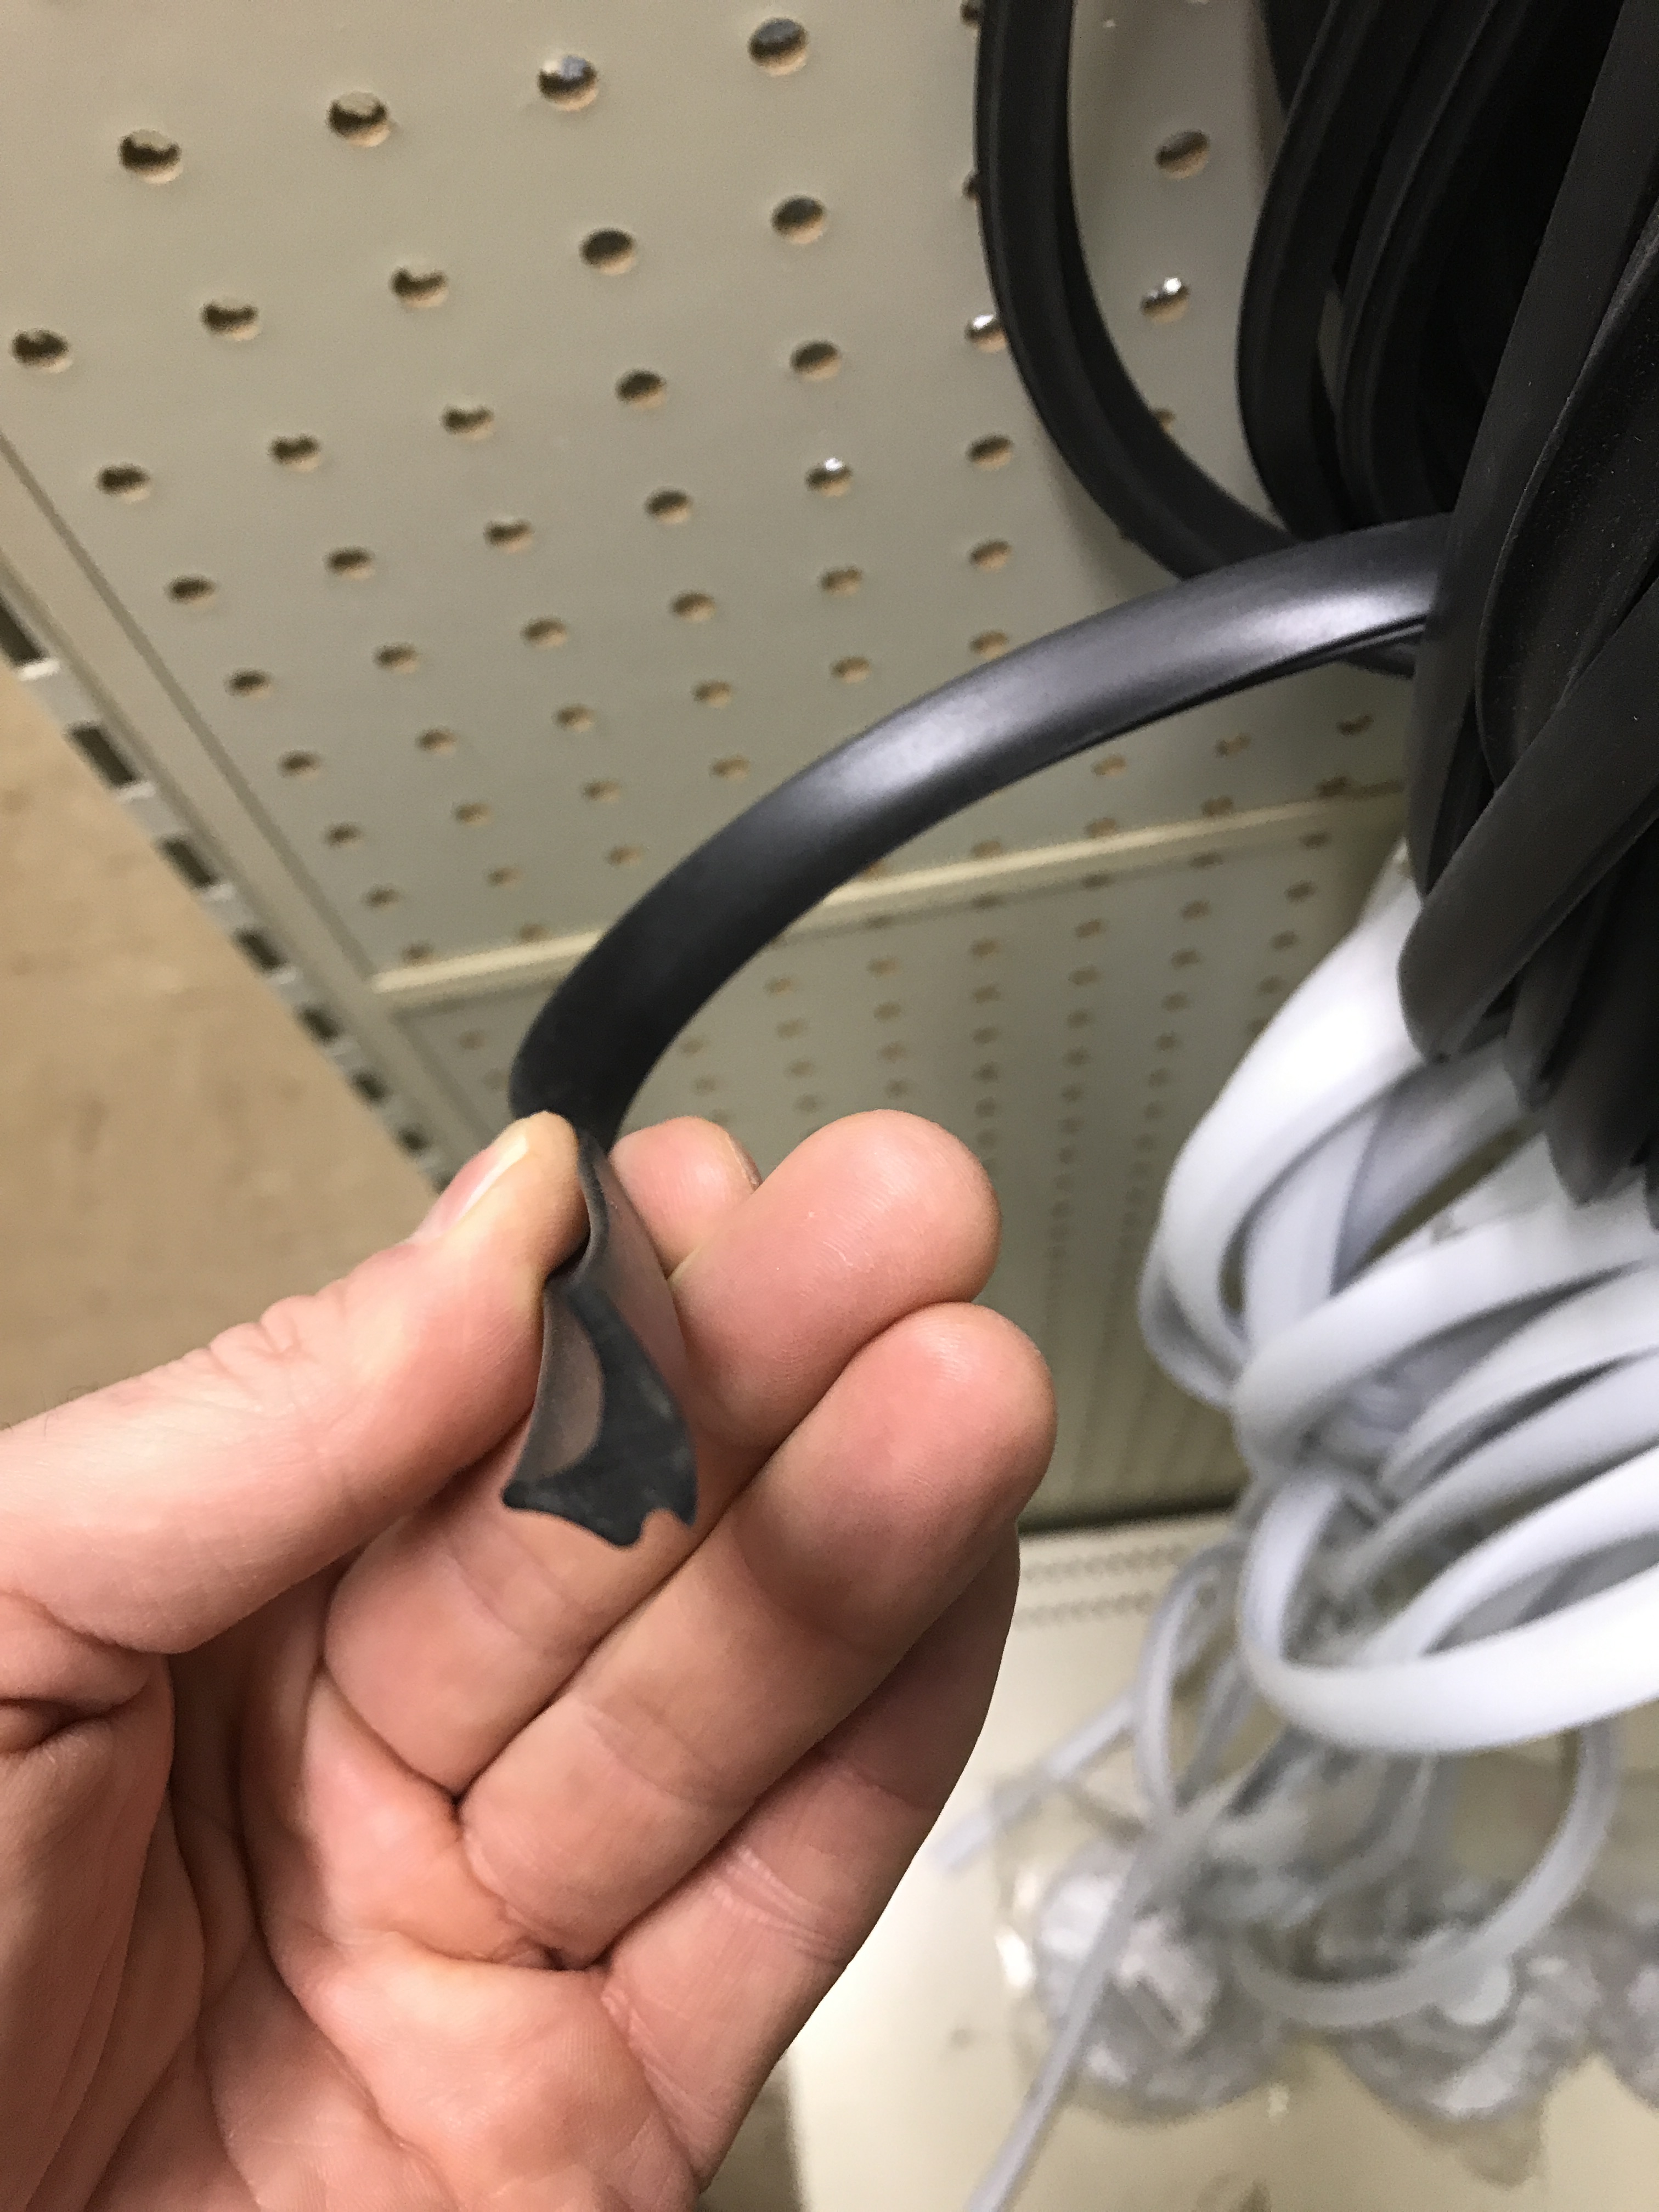
After you’ve confirmed your window type, now it’s time to find the replacement seal. The best way to determine what you need is to look at what is on your RV. Pull the window trim out of place so you can see the profile and take measurements.
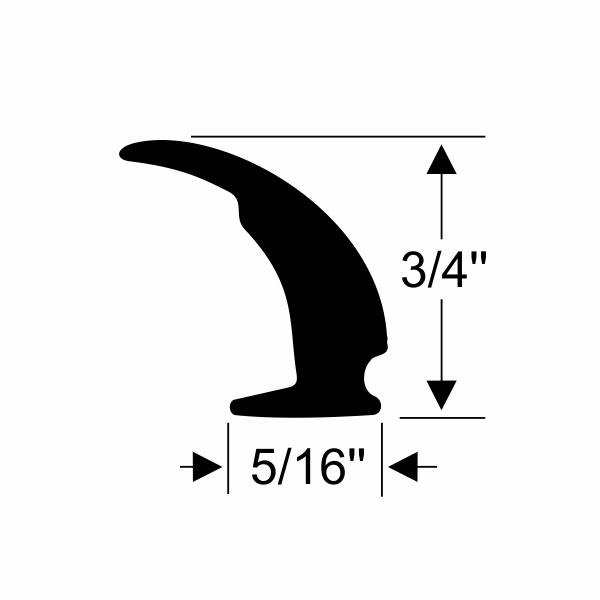
Think of the profile of the seal like a cookie cutter image. This “image” is a very important piece to the puzzle. The second piece of the puzzle is knowing the dimensions of your profile (see what areas you need to measure with the example photos below). Additionally, you’ll need to have an approximate footage in mind so you know how much to buy. To get the footage you need, measure around the perimeter of the window.
Common stationary window seals:
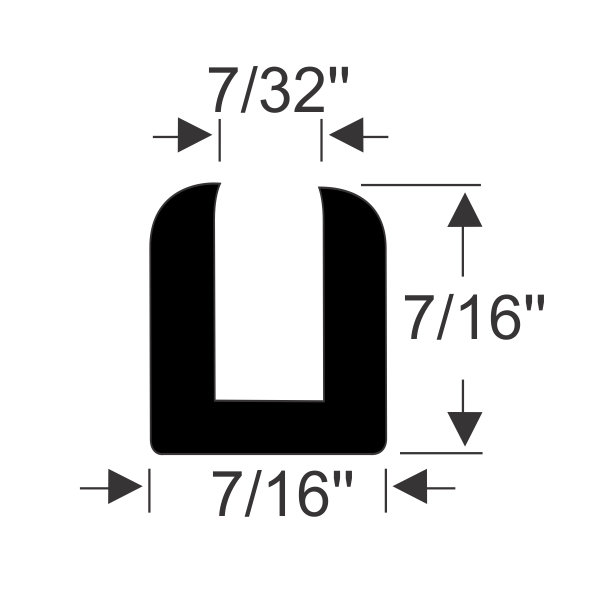

- The seal on the left is a Stationary Glass U-Channel
- The middle seal is called a Window Edge Weatherstrip
- And the last seal is called a Locking Gasket
Then, compare your measurements and the profile design to our RV Catalog and select the correct replacement. We also offer free samples so you can test fit to make sure the part fits! To request your free samples, contact us today!
You can also compare your profile and measurements to our parts online. That is also where you will find pricing and the footage options were part. When you’re shopping online, keep in mind that some manufacturers only offer their seals at a minimum or pre-cut lengths. That won’t work for every project. Make sure that the manufacturer you buy from offers by the foot options so you have control of price and length.
Installation
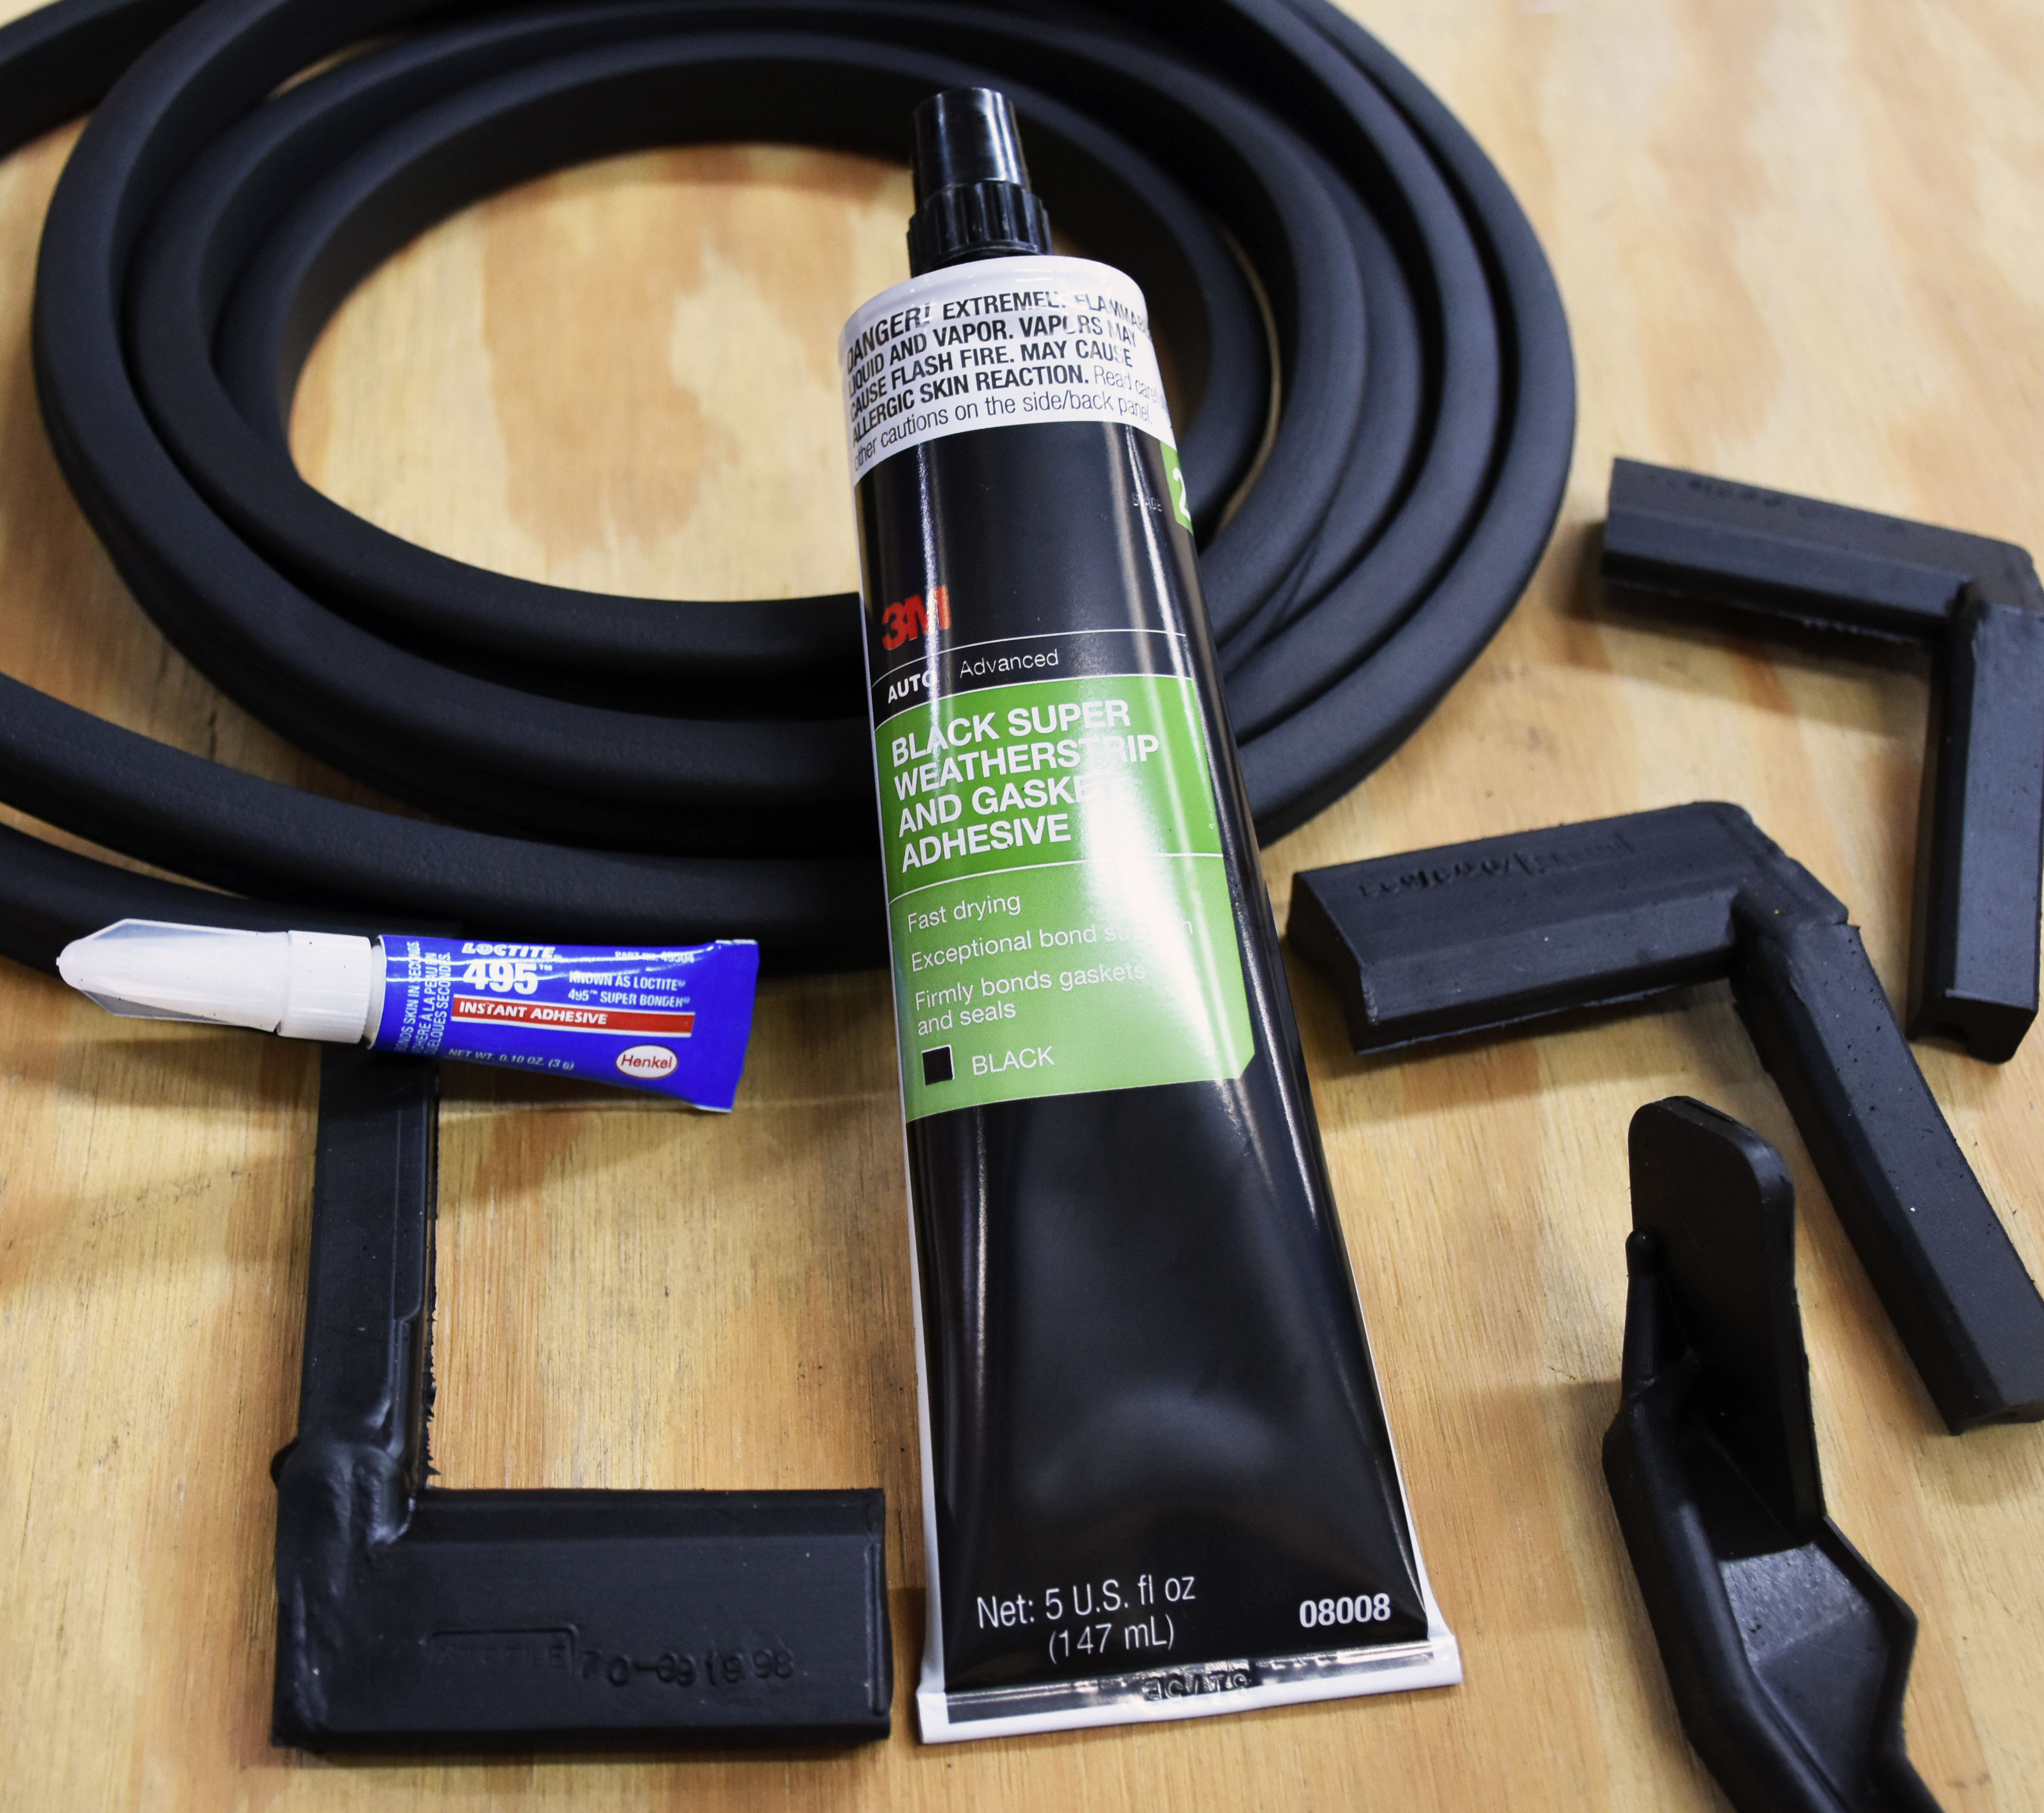
Tools Needed:
- Scraper/Tuck Tool – a great tool for removing the old seal, and pressing the new seal in place
- Loctite Super Bonder 495 – not necessary, but will add security in corners if you have to make any adjustments
- Adhesive Remover – the RV manufacturer may have used adhesive to apply the original seal. Adhesive remover will be handy for removing the old seal
- Cleaning Rags – when you remove the old seal, you will want to wipe out the channel of dust, dirt and grime
- Eye and Hand Protection – always recommended as a precaution when using adhesive or adhesive remover. These chemicals can be dangerous if not used right
If you don’t have everything on this list, we’ve got you covered! See our Tools & Adhesive section. Some may be available at your local automotive parts store as well.
- Start by (carefully) removing the window. Place the window on a sheet covered table to prevent scratching. This will also make it easier to work with
- Remove the old seal from the window
- Clean off any dust, debris, dirt or grime. Adhesive remover is especially handy here. It will strip everything off the window frame – including any adhesive that may have been
- Clean out the RV frame, or channel where the window sits. You will want a clean surface for your new seal
- Once everything is clean, take your new seal and press into place. Start at the bottom middle of the frame to hide the seam
- Continue working around the perimeter of the window until you come to the end
- Snip off any extra, and push the last bit into place
- Take a tuck tool and run it around the perimeter of the seal to make sure everything is in place. You’re looking for a tight and secure fit
You might find that it’s easier to press into place corner by corner. Press a corner into place, then another corner. Finish off by pressing everything in-between into place. Gaskets will make an audible sound when they have snapped into place. Something else to note: some installations may need you to remove the glass from the window frame. You will see an example of this in our sliding glass article. After the glass is removed, the seal installation should be the same as outlined above.
At Steele, we’re more than just high-quality products, we’re your trusted resource for completing your weatherstripping projects with confidence.
Whether you’re working on a classic car or truck, street rod, RV, or boat, our expert team is here to help. If you have questions about weatherstripping or need product guidance, we’re just a call or click away.
📞 Call us at 800-650-4482
📧 Send us an email
💬 Chat with us live on our website
Need installation help?
Check out our How-To video series on YouTube for step-by-step guidance and tips.
Stay connected!
Follow us on Facebook and Instagram for updates, inspiration, and more.

Leave a reply to Bob Stavenhagen Cancel reply