If you’re into classic car restoration or work on your own car, you may have heard the term “rope-in windshield” before, but do you know what it means?
Roping in a window/windshield/rear window gasket (or any piece of glass) is installing the gasket by using a rope to pull the rubber lip over the metal flange of the window frame. This holds the glass in place and seals it, preventing water leaks.
The rope-in method came to be in the mid to late 30’s when the garnish molding started to phase out up until at least the 70’s when locking strip gaskets became popular. This can seem like an intimidating job, but it doesn’t have to be. We sell a lot of gaskets that use this method, and we can help you plan your project and guide you step by step to make it stress free.
Please use caution during this installation to do things with steady even pressure so you don’t break your glass.
How to Install a Rope-In Gasket:
Step 1– Remove the glass and old gasket. Dry brittle gaskets will crumble, newer ones may come out intact. Either way, carefully using a sharp knife or box cutter and cutting the gasket out will make the job easy.
Step 2- Clean the surfaces and channels. clean the glass with glass cleaner and a razor to get off any stubborn pieces. Clean the channel on the body to make sure there are no old pieces of rubber or debris in there. A screwdriver or tuck tool works great for this.


Step 3– Apply a bedding and glazing compound. This stuff is magic at sealing between the gasket and body of the vehicle keeping water out but still remaining flexible. Don’t skip this stuff. Our article The Secret to a Leak Free Windshield on Your Classic will explain it all.
Step 4- Install the new gasket onto the glass. Make sure everything is the right size and shape before getting too far. If you see anything that doesn’t line up, right now is the time to figure it out. If you care to use clear, optical sealant between the gasket and the glass, put that into the groove of the gasket before inserting the glass.
Step 5- Install rope into the groove of the gasket. Leaving 6” or so of slack on each side for pull handles, take a 1/8” – 3/16” rope and push it deep into the lip channel of the gasket all the way around it (a smaller rope might be better for a gasket with tight corners). The string helps the rubber get over the metal lip on the channel. Start in the top center and tape both ends of the rope to the glass to keep them out of the way during installation. If your windshield or back window take any kind of reveal molding that inserts into a groove in the gasket, now’s the time to install it before the glass is installed back into the vehicle.


Step 6– Install the glass/gasket assembly into the frame. Spray all the way around the gasket and rope with soapy water for lubrication. Making sure the strings hang from the gasket on the correct side of the car, set the bottom of the windshield down into the frame first, being sure that its centered.
Step 7- Start pulling the rope. This is a 2-3 person job. Have 1-2 people (depending on the size of the glass) push the glass into the frame. At the same time have 1 person start slowly pulling the rope out of the gasket at a 90 degree angle from the glass. Between the pressure and pulling the rope, that should make for a fairly easy job of pulling the lip of that gasket out over the metal flange.


The rubber seal edge should pull over as you work around the glass the metal flange should slide into the seals groove. Do this until the gasket lip is over the metal flange all the way around the glass, holding the windshield in place and sealing it up tight.


That’s it, you’re finished! Now you can enjoy a leak free seal and a job well done.
Do you prefer to learn from a video? Check out these videos on the rope-in process:
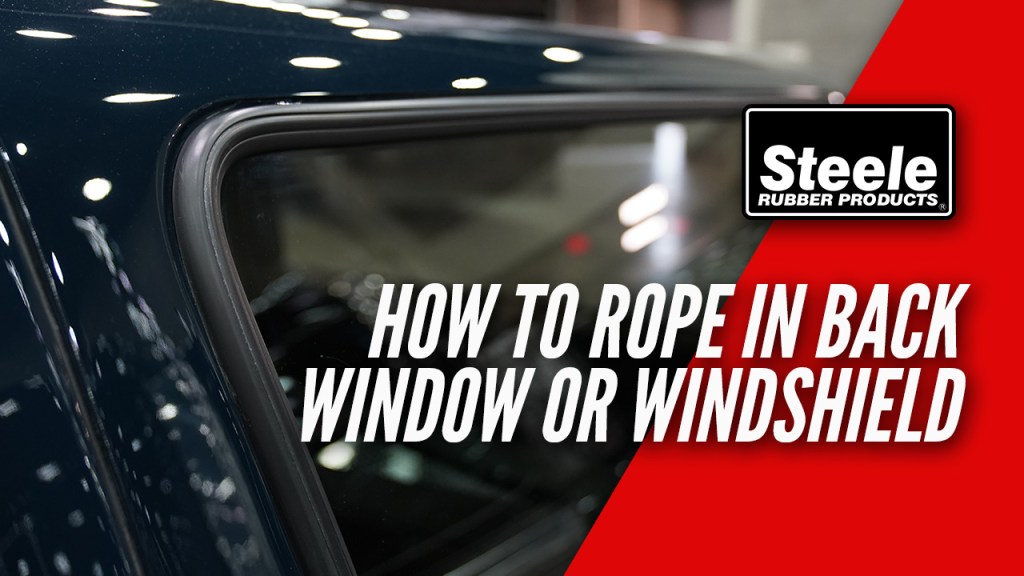
How to Install a Rope-In Windshield Gasket
How to Rope-In Back Window Glass
How to Replace Sliding Quarter Window Weatherstrip
The rope-in process can sound like an intimidating one but if you take your time, have some patience and approach it one step at a time you can tackle it yourself in your own garage.
At Steele, we’re more than just high-quality products, we’re your trusted resource for completing your weatherstripping projects with confidence.
Whether you’re working on a classic car or truck, street rod, RV, or boat, our expert team is here to help. If you have questions about weatherstripping or need product guidance, we’re just a call or click away.
📞 Call us at 800-650-4482
📧 Send us an email
💬 Chat with us live on our website
Need installation help?
Check out our How-To video series on YouTube for step-by-step guidance and tips.
Stay connected!
Follow us on Facebook and Instagram for updates, inspiration, and more.

Did you find this article helpful? Tell us why!