
Hatch seals are an essential part to your boat, and whether you’ve been a boater for 20 years or 20 minutes you’ve probably used your hatches to stow away equipment, gear and fish! In just a short period of time you may find yourself having to replace the seals on your hatches. So, how do you do that? What are the steps? How do you know if you’re getting the right replacement seal?
We’re going to cover all of that in this post. It’s a lot easier than you might think.
Finding the Right Replacement Seal

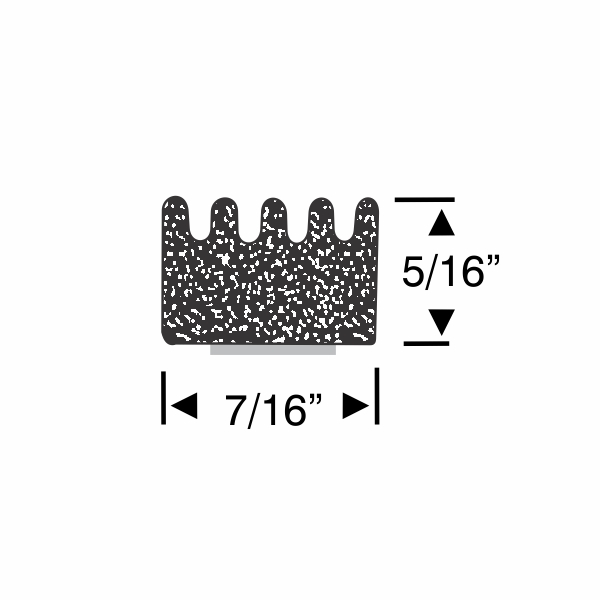

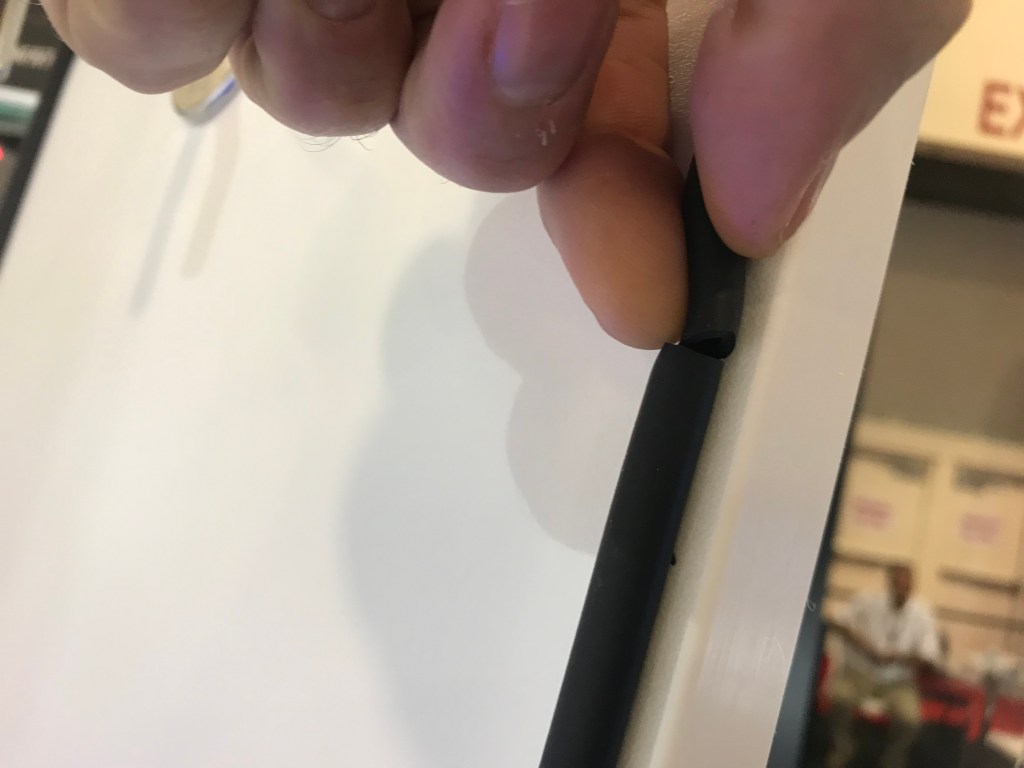
To find the perfect replacement part – start with the seal that’s already on your boat. Peel a section back to take note of the profile (or cross section) of the seal.
Measure your seal’s width, height and thickness. Don’t forget to note the perimeter of the hatch itself so you can buy the right footage.
It’s also important to note how the manufacturer sealed the hatch originally. In some cases the design of the hatch only allows for a seal in the track, but there may be some cases where you can decide how to seal it. If the hatch isn’t dependent on the seal being in a particular location, how do you decide where to put the replacement?

Ask yourself – What are you storing there? If it’s heavy equipment, then you’re going to want to make sure that you replace the seal on the hatch itself and not the opening. Dragging heavy equipment over your seals will damage them, and there’s the possibility of ripping them off. Seals placed on the hatch door will seal just as well, and you don’t have to worry about tearing them.
Sealing around the opening of the hatch is perfect for when you’re storing lighter loads including your live well for fish.
Once you have your profile and your dimensions, you can compare that to our online catalog. All of our seals are conveniently available by the foot, saving you time and money.
Replacing the Hatch Seal
Step 1: Remove your old seal
This is done by peeling the old seal off the hatch. You can use a scraper tool to lift up difficult to remove areas.
Next, you want to remove any left-over adhesive. You can use alcohol wipes or you can use adhesive remover and a shop towel. The key here is to remove all residue, dust and grime. You want this area clean before applying your new seal.
Step 2: Apply your new seal
Now that you have a clean surface, start applying your seal at the bottom of your hatch, working in sections. If your new seal is Peel-N-Stick, peel back just enough of the protective backing to easily work in sections. If your new seal is a glue on, and requires adhesive, you can apply the glue to the entire perimeter and apply the seal. Glue requires a “tack time” making it easy to adjust the seal until you have it where you want it. Once you’re satisfied with the seal location, you can let it sit for roughly 24 hours to let the glue set.
When it comes to corners, feed the seal patiently around the corner being careful not to kink the rubber. If the rubber is kinked it will be more susceptible to damage, and may peel away prematurely. If your hatch corners are square, or won’t allow for a clean seal radius, you can miter the corners. You can read our previous article on mitering here.
Once you have sealed the entire perimeter of the hatch you can use Super Bonder 495 to ensure the ends are completely bonded.
At Steele, we’re more than just high-quality products, we’re your trusted resource for completing your weatherstripping projects with confidence.
Whether you’re working on a classic car or truck, street rod, RV, or boat, our expert team is here to help. If you have questions about weatherstripping or need product guidance, we’re just a call or click away.
📞 Call us at 800-650-4482
📧 Send us an email
💬 Chat with us live on our website
Need installation help?
Check out our How-To video series on YouTube for step-by-step guidance and tips.
Stay connected!
Follow us on Facebook and Instagram for updates, inspiration, and more.

Did you find this article helpful? Tell us why!