From direct fit parts to custom builds, we’ve helped thousands of customers figure out what they need to seal their project and we enjoy doing it. In an effort to share some wisdom from our 60+ years of experience, we compiled a “What Not To Do” list so that your next weatherstripping project goes smoothly.

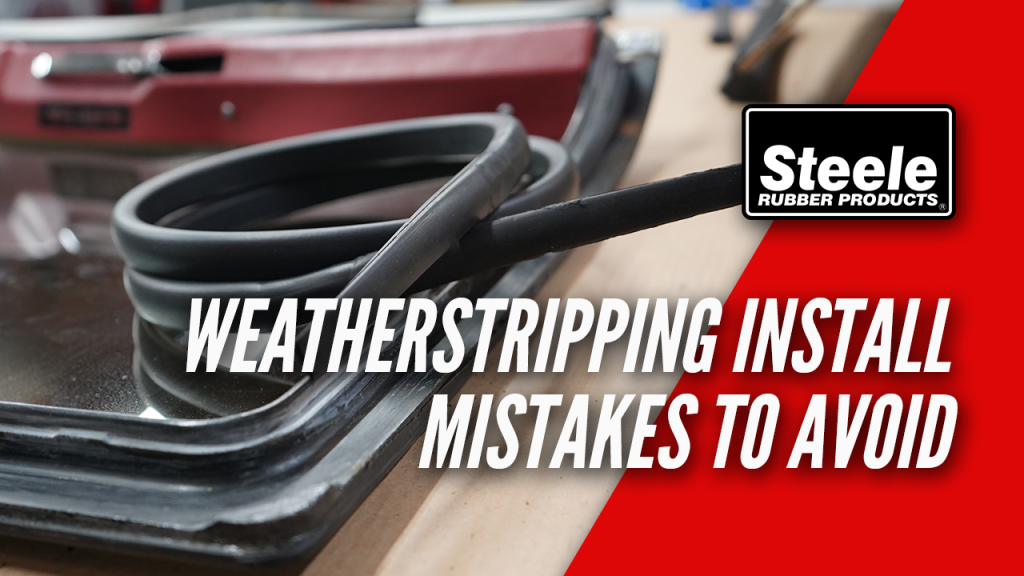
7 Crucial Mistakes When Installing Weatherstripping
- Throwing away your originals– if there’s any single most important piece of advice in any restoration project that we can give you, it’s this one: DO NOT throw away your originals until you know that there are new parts available and that they fit correctly. Compare your new parts to the old ones to see if they look the same and do a test fit. If you can’t find a replacement or the replacement doesn’t fit, you can try to reuse the original. Old parts are better than no parts until you can find a suitable replacement. We can’t tell you how many times a customer said they threw away their originals, found that there was no replacement available, and asked if we could make it. We design our parts FROM originals, so if you throw it away, that’s not an option.
- Not prepping the gluing surface– yes, we know it can be a pain to scrape the dried-up adhesive and rubber off, but for the strongest hold its important to get the surface as clean and free of debris as possible. Finish the prep by wiping it down with an alcohol pad. Anything being on that surface can negatively impact how the adhesive holds.
- Not doing a test fit– OK, so you’ve removed the old part, cleaned and prepped the gluing surface and you have the new part in hand, all that’s left to do is glue it on, right? No! We recommend doing a test fit first to make sure everything lines up as it should. Just install it like you otherwise would but without gluing it down, pushing the pins in or removing the Peel-N-Stick tape backing. Use masking tape to hold in place if necessary. If it’s a trunk or door weatherstrip, shut it on the weatherstrip to make sure it will close. This will allow you to correct any problems without having to rip the weatherstrip out that you just glued in.
- Not double checking the correct orientation for the seal– some weatherstrips come in odd shapes and it’s hard to know which side is the gluing surface and how exactly it should lay. Here at Steele we include instructions in with our weatherstrips showing the correct orientation of our parts, or you can always reference it on our website. If you put it in wrong, it might not seal at all or worse yet, it could actually funnel water in instead of guiding it away. If we had a dollar for every car we’ve seen at a show with the trunk rubber in backwards…. well, we’d have a lot of dollars!
- Using too much adhesive– less is more, people! The more adhesive you use, the more risk you have of the weatherstrip sliding around on wet adhesive. On top of that, it just takes so much longer to dry. Apply a thin coat on each surface, let it dry until tacky, put on one more thin coat on one surface and stick it down. That’s it. The adhesive will dry quickly and be fully dried in 24 hours. Check out this video for more detailed instructions.
- Shutting the door or trunk while the adhesive is still wet– you spent all that time spreading adhesive, lining the weatherstrip up just right and pushing it on. It was the perfect DIY project and you totally rocked it out. You might be tempted now to shut the trunk lid or the door but don’t! It takes weatherstrip adhesive 24 hours to fully cure. If you disturb your freshly glued weatherstrip before then, it could slip out of place on the wet adhesive and be totally misaligned, giving water a chance to get in. So, after you finish up that project, give the adhesive the time it needs to dry completely before disturbing it in any way.
- Rushing through the job– since weatherstripping is often one of the final steps in a restoration process, the temptation to rush through this step and hit the road can be strong. However, hurrying through the weatherstripping install could lead to more time-consuming and frustrating issues down the road. Our experts consistently emphasize the importance of taking the time to do it right the first time around. Trust us, properly installing your seals will provide a dry and quiet ride for years to come.
At Steele, we’re more than just high-quality products, we’re your trusted resource for completing your weatherstripping projects with confidence.
Whether you’re working on a classic car or truck, street rod, RV, or boat, our expert team is here to help. If you have questions about weatherstripping or need product guidance, we’re just a call or click away.
📞 Call us at 800-650-4482
📧 Send us an email
💬 Chat with us live on our website
Need installation help?
Check out our How-To video series on YouTube for step-by-step guidance and tips.
Stay connected!
Follow us on Facebook and Instagram for updates, inspiration, and more.

Did you find this article helpful? Tell us why!