Whether you’re enjoying a warm summer night or bundled up on a cold winter evening, maintaining a comfortable environment in your RV is essential. Don’t let drafty windows spoil your RVing experience. When your window seals start to fail, it can have costly effects.
However, there are steps you can take to prevent drafts and ensure a cozy atmosphere inside your RV. In this post, we will provide a detailed guide on how to replace the sliding glass window seals in your RV, allowing you to enjoy your camping adventures all year round.
Where to Start
To begin the process of replacing the run channel in your RV’s sliding windows, it’s important to have a clear understanding of the different types of window seals and their specific functions. This will help you in choosing the right part for your RV throughout the replacement process.
What is Run Channel?

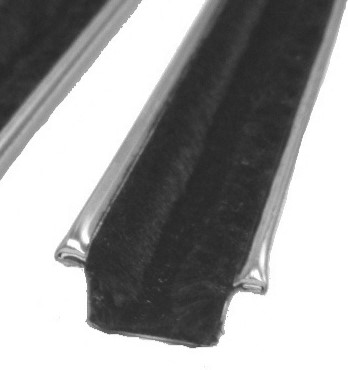

- The left run channel is our part #70-3570-256
- The middle rigid (metal) run channel is our part #70-0752-256
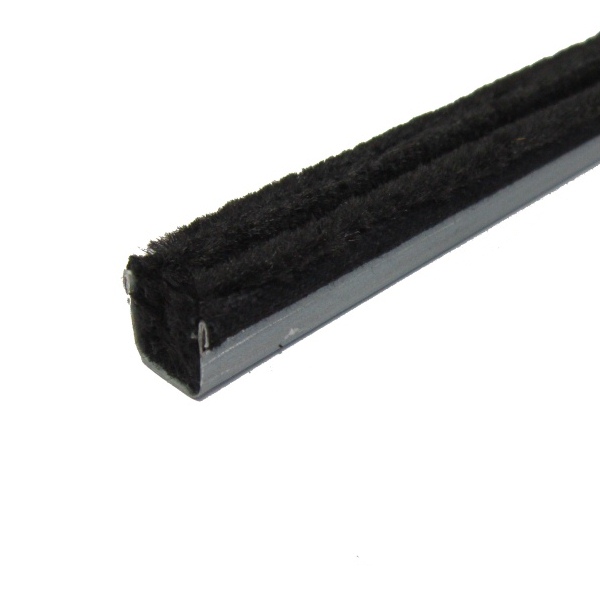
- The right “double-u” run channel is our part #70-3571-256
RV Run Channel is a flexible piece of electrostatic flocked rubber that reduces friction to allow sliding window glass to slide quietly and smoothly. Run Channel also helps to eliminate window rattles and is an additional component of protection for your glass.
Some other things of note:
- A Run Channel can also known as U-Channel and Double U-Channel depending on the shape
- Run channels can be flexible or rigid (we’ll cover that more below)
Most run channels are made from a flexible EPDM rubber, but there are a few styles of run channel that are made out of metal. You’re more likely to run into a metal run channel when you get into older vehicles like a GMC Motorhome from the 70s. The metal channels that were used back then were rubber coated mesh metal. The metal run channels you find on the market now, like part #70-0752-256, are direct replacements for that type of run channel. These replacements hold up a lot longer.
That said, you’re most likely going to have a flexible rubber run channel (unless you do own one of those fancy GMCs from the 70s).
Unlike stationary glass window seals, sliding glass windows come in pre-cut lengths. This means that you have to buy the length offered 74-96 ft. However, the piece can be cut down to the size you need and meet the shipping requirements. Before buying a pre-cut length seal, we recommend calling in or opening a Live Chat with a product specialist to get the piece cut to your desired length.
What is Beaded Run Channel?
Another term you might be unfamiliar with is “beaded”. If a run channel is referred to as beaded, it means that there is a metal bead that runs the length of the channel. You will find the beads in the elbow of the seal (see example below). When a run channel is beaded it isn’t flexible. If you’re looking for a flexible seal, make sure that the seal descriptions says it’s flexible or un-beaded.

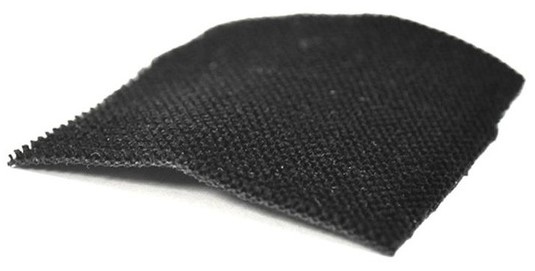
If you’re only replacing the fuzzy channel filler, you can buy those without having to buy a full run channel. Channel fillers add extra protection for the window when sliding. There are some channel fillers made of cork or dense rubber to prevent the window from sliding and hold the glass in place. For most sliding windows you’ll use the fuzzy kind.
Tools Needed
Before you’re ready to install, make sure you have the materials listed below. If you’re missing something from this list, you can browse our Tools & Adhesives section or visit your local automotive parts store.
- Scraper/Tuck Tool – a great tool for removing the old seal and pressing the new seal in place
- Sturdy shop scissors – you may need these to cut the seal and fit it in the channel
- Cleaning rags – when you remove the old seal, you will want to wipe out the channel of dust, dirt and grime
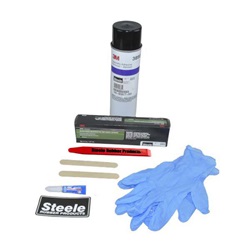
You are not going to work with any chemicals like adhesive or adhesive remover, so you don’t need eye and hand protection for the install.
Installation Steps
To install the window seal, start where the window would slide over, and work your way around the perimeter of the window.
- First, remove the old run channel. You can use your scraper tool or any tuck tool you might have to pry the old channel out of place. Be careful during this process as the glass won’t have anything to secure it in place once the seal is gone
- Along with removing the seal, you will remove the “bumper stops”. The stops prevent the window from sliding too far back. They aren’t necessary to hold the window in place so putting them back in place at the end of the install is up to you
- Take a note of any drainage holes in the original run channel. You may want to cut these back into the new run channel. If you decide to cut drainage holes, you can do so as you’re working along the seal
- After removing the seal, clean the area of any dirt and debris. We recommend using a damp shop rag to pick up the dirt or using a handheld vacuum
- Once you’re ready to start the install, start where the window slides over. Push the new run channel into place sliding it as close to the center of the window as possible (this is to hide the seam)
- You can choose to leave room for the bumper stop or continue to work around the perimeter of the window. When you get to the end, cut a little extra length to create a tight seal. You can then run your window back and forth to help make sure the seal is completely in the track
Here is a video demonstration of this process:
At Steele, we’re more than just high-quality products, we’re your trusted resource for completing your weatherstripping projects with confidence.
Whether you’re working on a classic car or truck, street rod, RV, or boat, our expert team is here to help. If you have questions about weatherstripping or need product guidance, we’re just a call or click away.
📞 Call us at 800-650-4482
📧 Send us an email
💬 Chat with us live on our website
Need installation help?
Check out our How-To video series on YouTube for step-by-step guidance and tips.
Stay connected!
Follow us on Facebook and Instagram for updates, inspiration, and more.

Did you find this article helpful? Tell us why!