As the name implies, rub rails experience significant wear and tear in effort to prevent hull damage in harsh marine environments. Additionally, rub rail inserts, the part of the rub rail that adds an extra layer of protection and accent to your boat, are often the first point of contact when you bump against pilings and docks. Because of this, the inserts are designed to be replaced with normal boat maintenance.
When it’s time to replace the insert, many customers often try to find an exact for their boat’s year, make, and model like you would a classic car. Unfortunately, that information is hard to come by.
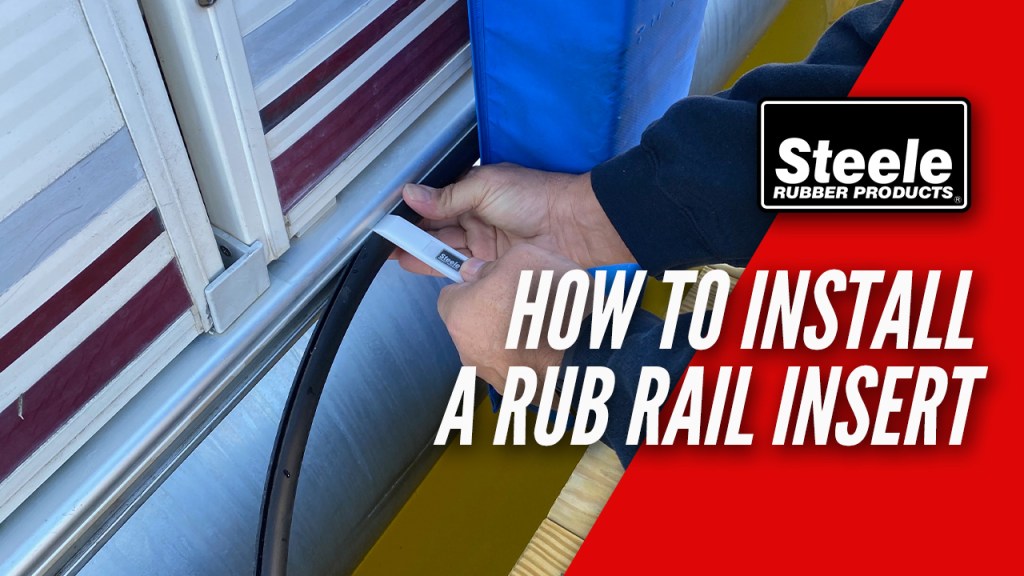
The best way to figure out which insert will fit your boat is to take take a small portion of the insert out so you can see the cross section view and measure it. Additionally, you’ll want to measure the rub rail track where your insert installs. Using the dimensions and profile of the seal, you can match it to one of the replacement rub rail insert in our free Marine Catalog, or on our website.
A quick note about rub rail insert material:
Most rub rail inserts on the market are made of vinyl or metal. The rub rail inserts manufactured here at Steele are made from durable, EPDM rubber. EPDM rubber has outstanding wear properties including excellent abrasion, impact, ozone, UV and extreme weather resistance. So it won’t crack, dry out, or shrink like others made from vinyl or thermoplastic.
If you purchase a rub rail insert from Steele, our inserts are made of 100% EPDM rubber which is designed to last. Unlike vinyl or plastic, EPDM rubber rub rail inserts don’t require any pre-heating and they will not fade, shrink or crack. That’s something we guarantee!
Now, let’s break down how to measure for your rub rail insert replacement.
Measuring for the new seal
Knowing the make and model of your boat doesn’t necessarily determine what seals you need for your project, as most marine seals are universal – meaning that the seals can be used on many different boats for many different applications.
The easiest way to determine the right rub rail insert for your boat is to simply examine and measure the profile of the insert you already have on your boat. What you’re looking for is the shape of the seal (or cross section) which acts as a unique identifier when browsing our catalog.
Now that you have a sample of your seal, whether that’s a photo or a small snippet of the insert, you can use that (along with the dimensions) to compare to the catalog.
If you are replacing the entire insert, you will need to estimate the length of the insert you will need. Because of the curves involved, you’ll need more insert than just double your boat’s overall length. We recommend adding the boat’s length to its beam and then doubling the sum to ensure you order enough rub rail to complete the job.
We offer a variety of rub rail insert kits and rub rail insert repair kits. It is important to note exactly what you need for the job. Are you replacing the whole insert, or just a section? That detail will matter when you order your kit because the kits come with different items.
When you order a replacement kit, the kit comes with:
- Tuck Tool
- Rub Rail Insert
- And Instruction Sheet
- And the footage of the insert you purchased
When you order a repair kit, the kit comes with:
- Tuck Tool
- 20ft of your desired Rub Rail Insert
- Loctite Super Bonder 495
- An Instruction Sheet
Once you know what kit you need, the installation process is easy. When you purchase a rub rail insert replacement or repair kit from Steele Rubber Products, you do not have to worry about pre-heating the seal before installation!
For simple installation follow these steps:
- Remove the old, worn or damaged rub rail insert keeping any necessary hardware associated with holding the insert in place such as end caps or screws
- Clean out the rub rail track. You will want to remove any dirt and debris that might have been previously trapped. If caulk was used to keep the old insert in place, take the time to remove that too
- Start your install at one end of the boat where there was an end cap
- Pinch and push the insert into the rail. This can be done by hand or you can use a tuck tool or wooden spatula to assist pushing it in
- Work your way around the boat, pushing the insert into the rail
- When you have finished installing the insert, you can trim the excess flush with the edge of the track
- Install any necessary or remaining hardware
**Note: We recommend not using a screw driver or other sharp object to assist pushing in the insert. There is a potential of damaging the insert or the rail.**
When you purchase a rub rail insert (or any other rubber parts) from Steele Rubber Products, you are covered under our 100% Satisfaction Guarantee. Additionally, you have access to our Product Specialists and other knowledgeable weatherstripping pros that are here to help answer any questions you may have about our products.
At Steele, we’re more than just high-quality products, we’re your trusted resource for completing your weatherstripping projects with confidence.
Whether you’re working on a classic car or truck, street rod, RV, or boat, our expert team is here to help. If you have questions about weatherstripping or need product guidance, we’re just a call or click away.
📞 Call us at 800-650-4482
📧 Send us an email
💬 Chat with us live on our website
Need installation help?
Check out our How-To video series on YouTube for step-by-step guidance and tips.
Stay connected!
Follow us on Facebook and Instagram for updates, inspiration, and more.

Did you find this article helpful? Tell us why!