
In the automotive industry, innovations that simplify maintenance and repair tasks are always highly valued. One significant innovation from the 1960s and 70s was the introduction of the locking strip gasket, which provided a more efficient and secure method for installing glass in a vehicle.
Although the concept behind the locking strip is straightforward, a rubber strip inserted into a gasket groove to lock the gasket around the glass, the actual installation can be tricky. Proper technique and preparation are essential for a successful and frustration-free install. We’ve compiled a list of key tips to help ensure effective and professional installation.
Understanding the Locking Strip System
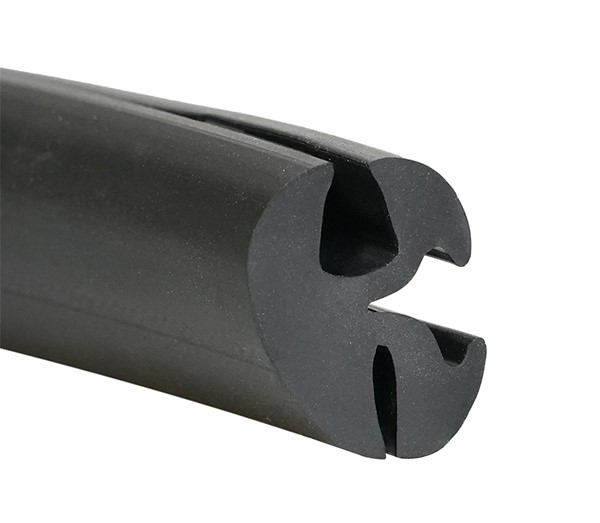
A locking strip is a narrow piece of rubber designed to reinforce the seal between a gasket and the glass it surrounds. It fits into a dedicated groove in a locking strip gasket, applying outward pressure that secures the glass firmly in place. While the principle is simple, the materials involved create a tight fit, requiring both exactness and patience during installation.
1 – Correct Orientation
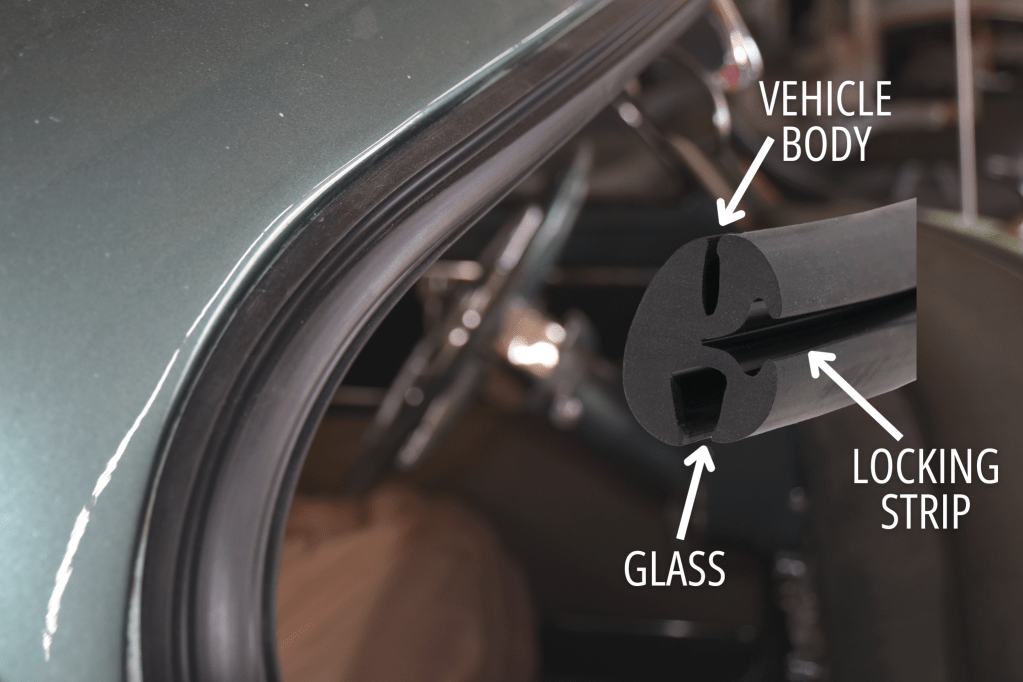
Before beginning, it is critical to ensure the gasket is correctly positioned on the vehicle. Locking strip gaskets typically feature three grooves: one for the vehicle body, one for the glass, and one for the locking strip. The groove designated for the locking strip must face outward. Verifying this orientation before installation will prevent errors and streamline the process.
2 – Proper Lubrication
Applying a lubricant can significantly ease the insertion of the locking strip. A solution of soapy water is highly recommended. It provides excellent slip properties, is non-toxic, and evaporates naturally without leaving residue. Be generous when applying lubrication to both the locking strip and the gasket groove to minimize resistance.
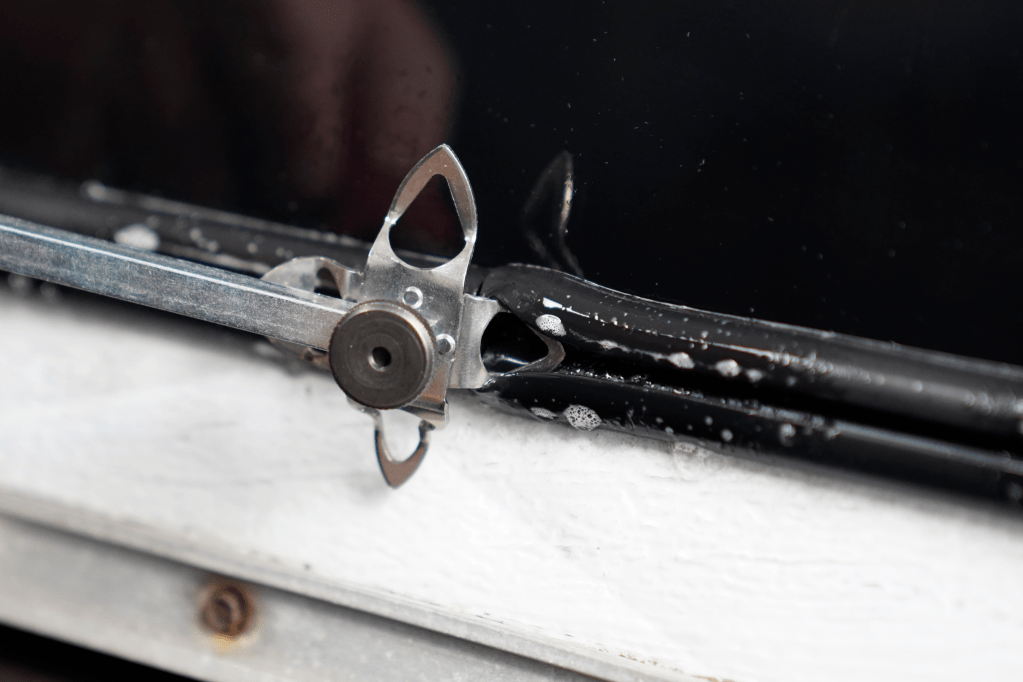
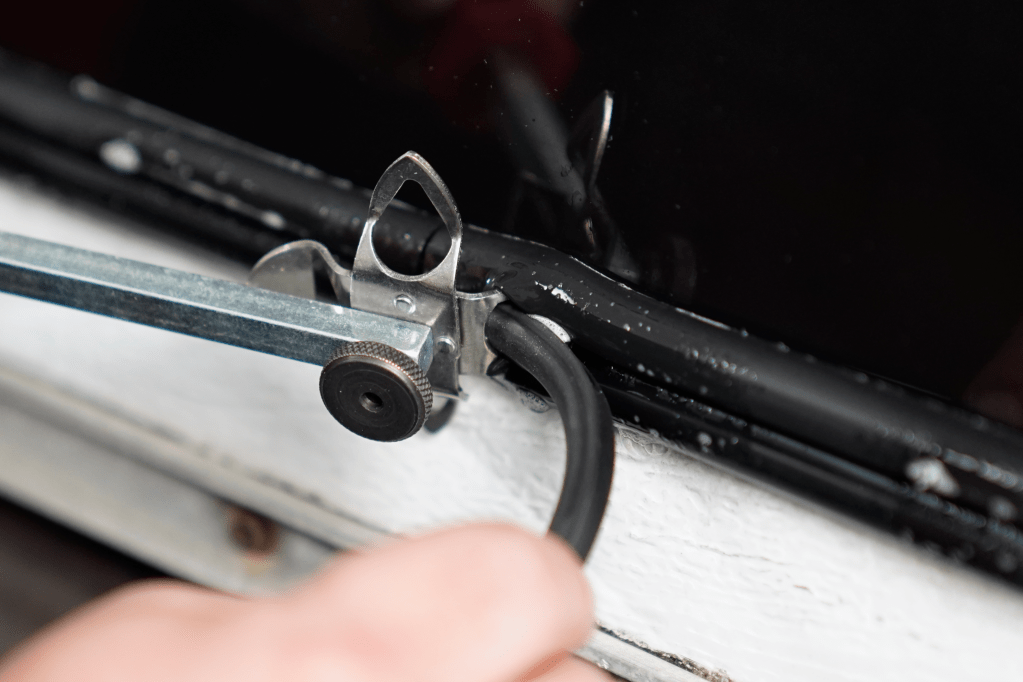
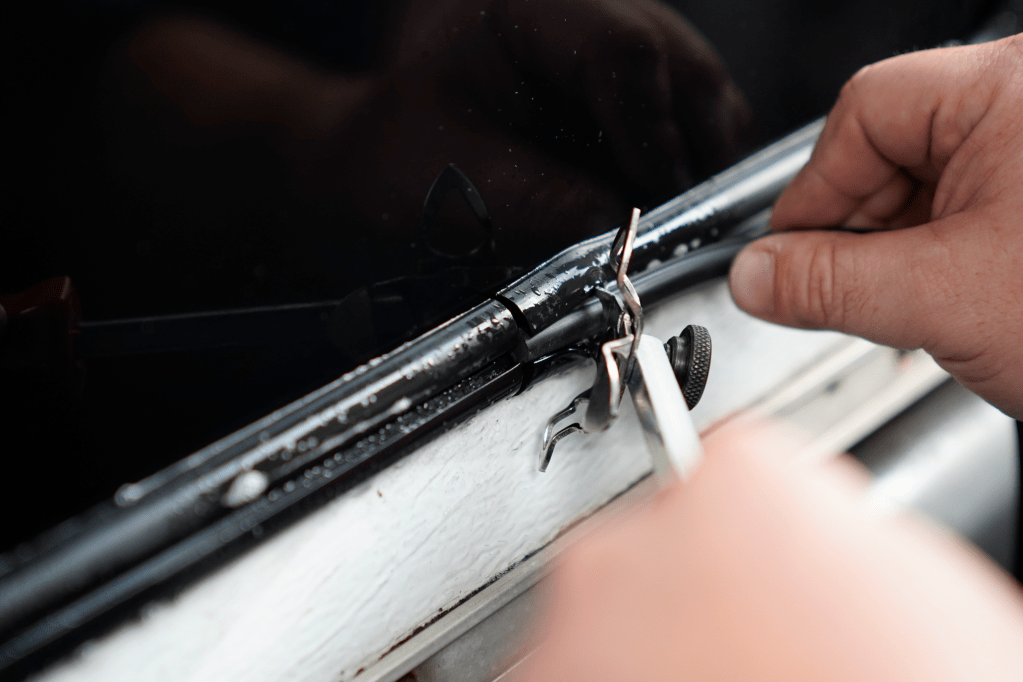
3 – Utilize the Right Tools
To streamline the process, use a tool specifically designed for locking strip installation, such as the Locking Strip Tool. This tool operates by feeding the locking strip through a small guide hole while simultaneously holding the gasket groove open. Although lubrication and manual effort are still required, the tool greatly reduces installation difficulty and time.
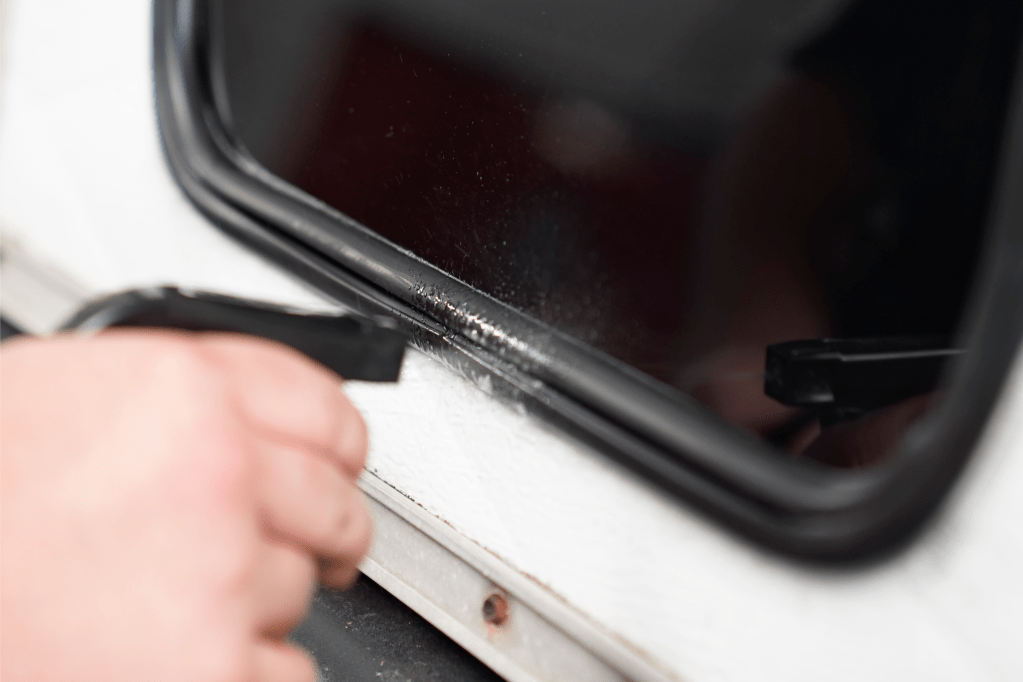
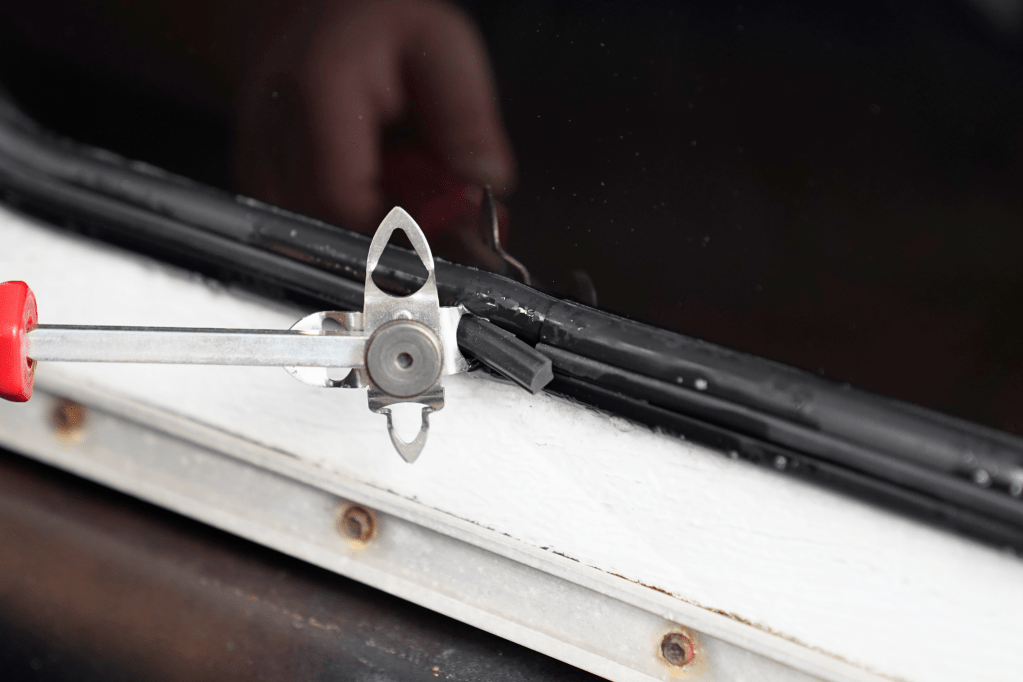
4 – Choose an Effective Starting Point
It’s recommended to begin by inserting the locking strip at the bottom center of the gasket. This starting point makes it easier to evenly distribute the strip around the perimeter of the glass and accurately gauge the necessary length. When the strip reaches the starting point again, it will be clear where and how much trimming is needed.
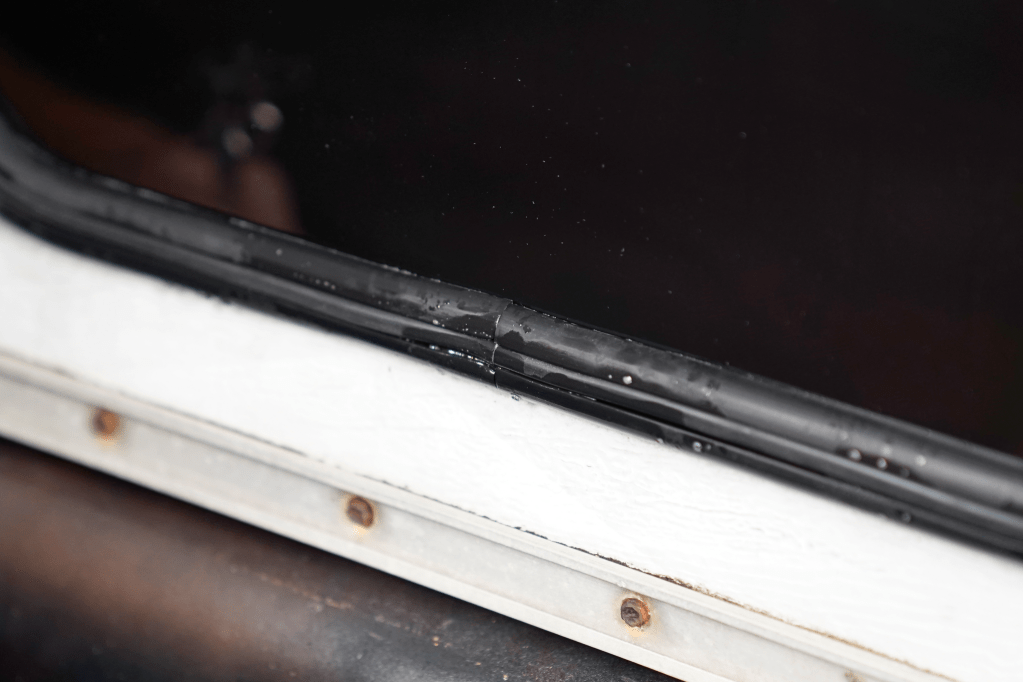
5 – Cut the Right Length
Upon completing the loop around the gasket, trim the locking strip slightly longer than needed – approximately one quarter inch.
Insert the end snugly into the groove and carefully work the extra material back into the gasket. This technique prevents gaps from forming later, ensuring a secure and long-lasting seal.
For step-by-step install instructions, check out our How To article here, or watch the video below!
At Steele, we’re more than just high-quality products, we’re your trusted resource for completing your weatherstripping projects with confidence.
Whether you’re working on a classic car or truck, street rod, RV, or boat, our expert team is here to help. If you have questions about weatherstripping or need product guidance, we’re just a call or click away.
📞 Call us at 800-650-4482
📧 Send us an email
💬 Chat with us live on our website
Need installation help?
Check out our How-To video series on YouTube for step-by-step guidance and tips.
Stay connected!
Follow us on Facebook and Instagram for updates, inspiration, and more.

Did you find this article helpful? Tell us why!